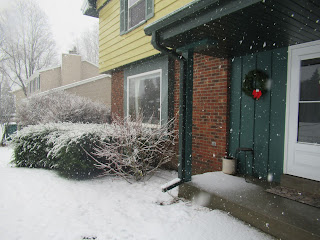
Welcome to Treadlestitches! It's a frosty morning here for the first Saturday in December. No snow yet, and I'm not complaining. I'm sure we'll get our share this winter, as usual.
We've had a busy week with the grand kids, so not much sewing happened, but I did get the borders on my quilt-as-you-go Shoofly quilt, which was one of my Rainbow Scrap Challenge quilts for 2020.
I chose a red print from my stash for the border (locally sourced, as Preeti says!), and a stencil from my collection for the quilting. The stencils hang in my sewing room closet as above.
I'm going to use this swag, so I measured the stencil and cut the border to be just a little larger.
The center of my quilt is already quilted. This is how I add borders to it.
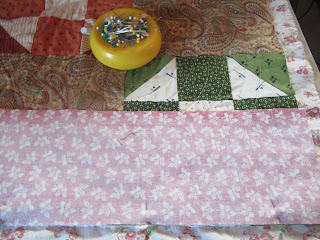
First, I add a border itself. I position it right sides down on the right side of the quilt, pin, and stitch. It might help to think "sew and flip" here.
Next I create a strip of backing to add underneath the border. It needs to be wider than the border. Because I use basting spray, which holds fairly tightly (it's glue, after all), I don't need the backing strip to be a LOT wider. In this case, the border was cut 5.5 in. wide and the border backing was cut 6 in. wide.
I flip the quilt over, position the backing strip right sides together with the quilt backing, pin, and stitch. I press this seam also.
Now I have a border and its backing, both sewn by machine to the quilt. I need batting to go between these two layers. I cut a long strip of batting slightly narrower than I cut the border. In this case, the border was cut 5.5 in. wide, so I cut the batting 5 in. wide. Today I used my ruler and a pen to mark the batting and cut it with scissors. (I cut the ink line away so no ink gets into the quilt.) Sometimes I cut the batting with a rotary cutter I use only for batting. (Fun fact--because I use 100% cotton batting, I can press it with the iron if it's wrinkly.)
Now to add the batting to the border. I pull back the top, and lay the batting strip down on the backing. I butt the top edge of the batting strip against the seam. I want to keep the bulk of the batting out of the seam so it lays nice and flat. (It doesn't need to be held in the seam--the quilting will keep the batting in place.) I spray baste the batting to the backing first, and then to the border.
Voila! The border is ready to quilt. Of course, this has to be done on all four sides.
Like this! Because both the border and the border backing were sewn on by machine, there is no hand sewing to do here. In fact, the only hand sewing on this quilt is the two seams joining the three sections, which I already did. I'll be adding the binding by machine, when I get there.
But first, it's time to mark the swags and quilt!
Meanwhile, my leaders and enders are coming along.
And Baby Buddy is nine months old today! (Please excuse the poor quality photo. Sunlight was just pouring in yesterday.)
How are you doing in this very strange time? We are hanging in there. The holidays will be different this year, but we will manage. I'm going to plan a big party for this summer, when we're all vaccinated, with lots of hugging. LOTS OF HUGGING!!! Can't wait!
Have a good week, and thanks for reading!
Cheers,
Sylvia@Treadlestitches
Linking up with:


