Showing posts with label Bonnie Hunter. Show all posts

Friday, July 8, 2022

A Finish, Purple Blocks, Berries, and a Little Thief

 Welcome to Treadlestitches!

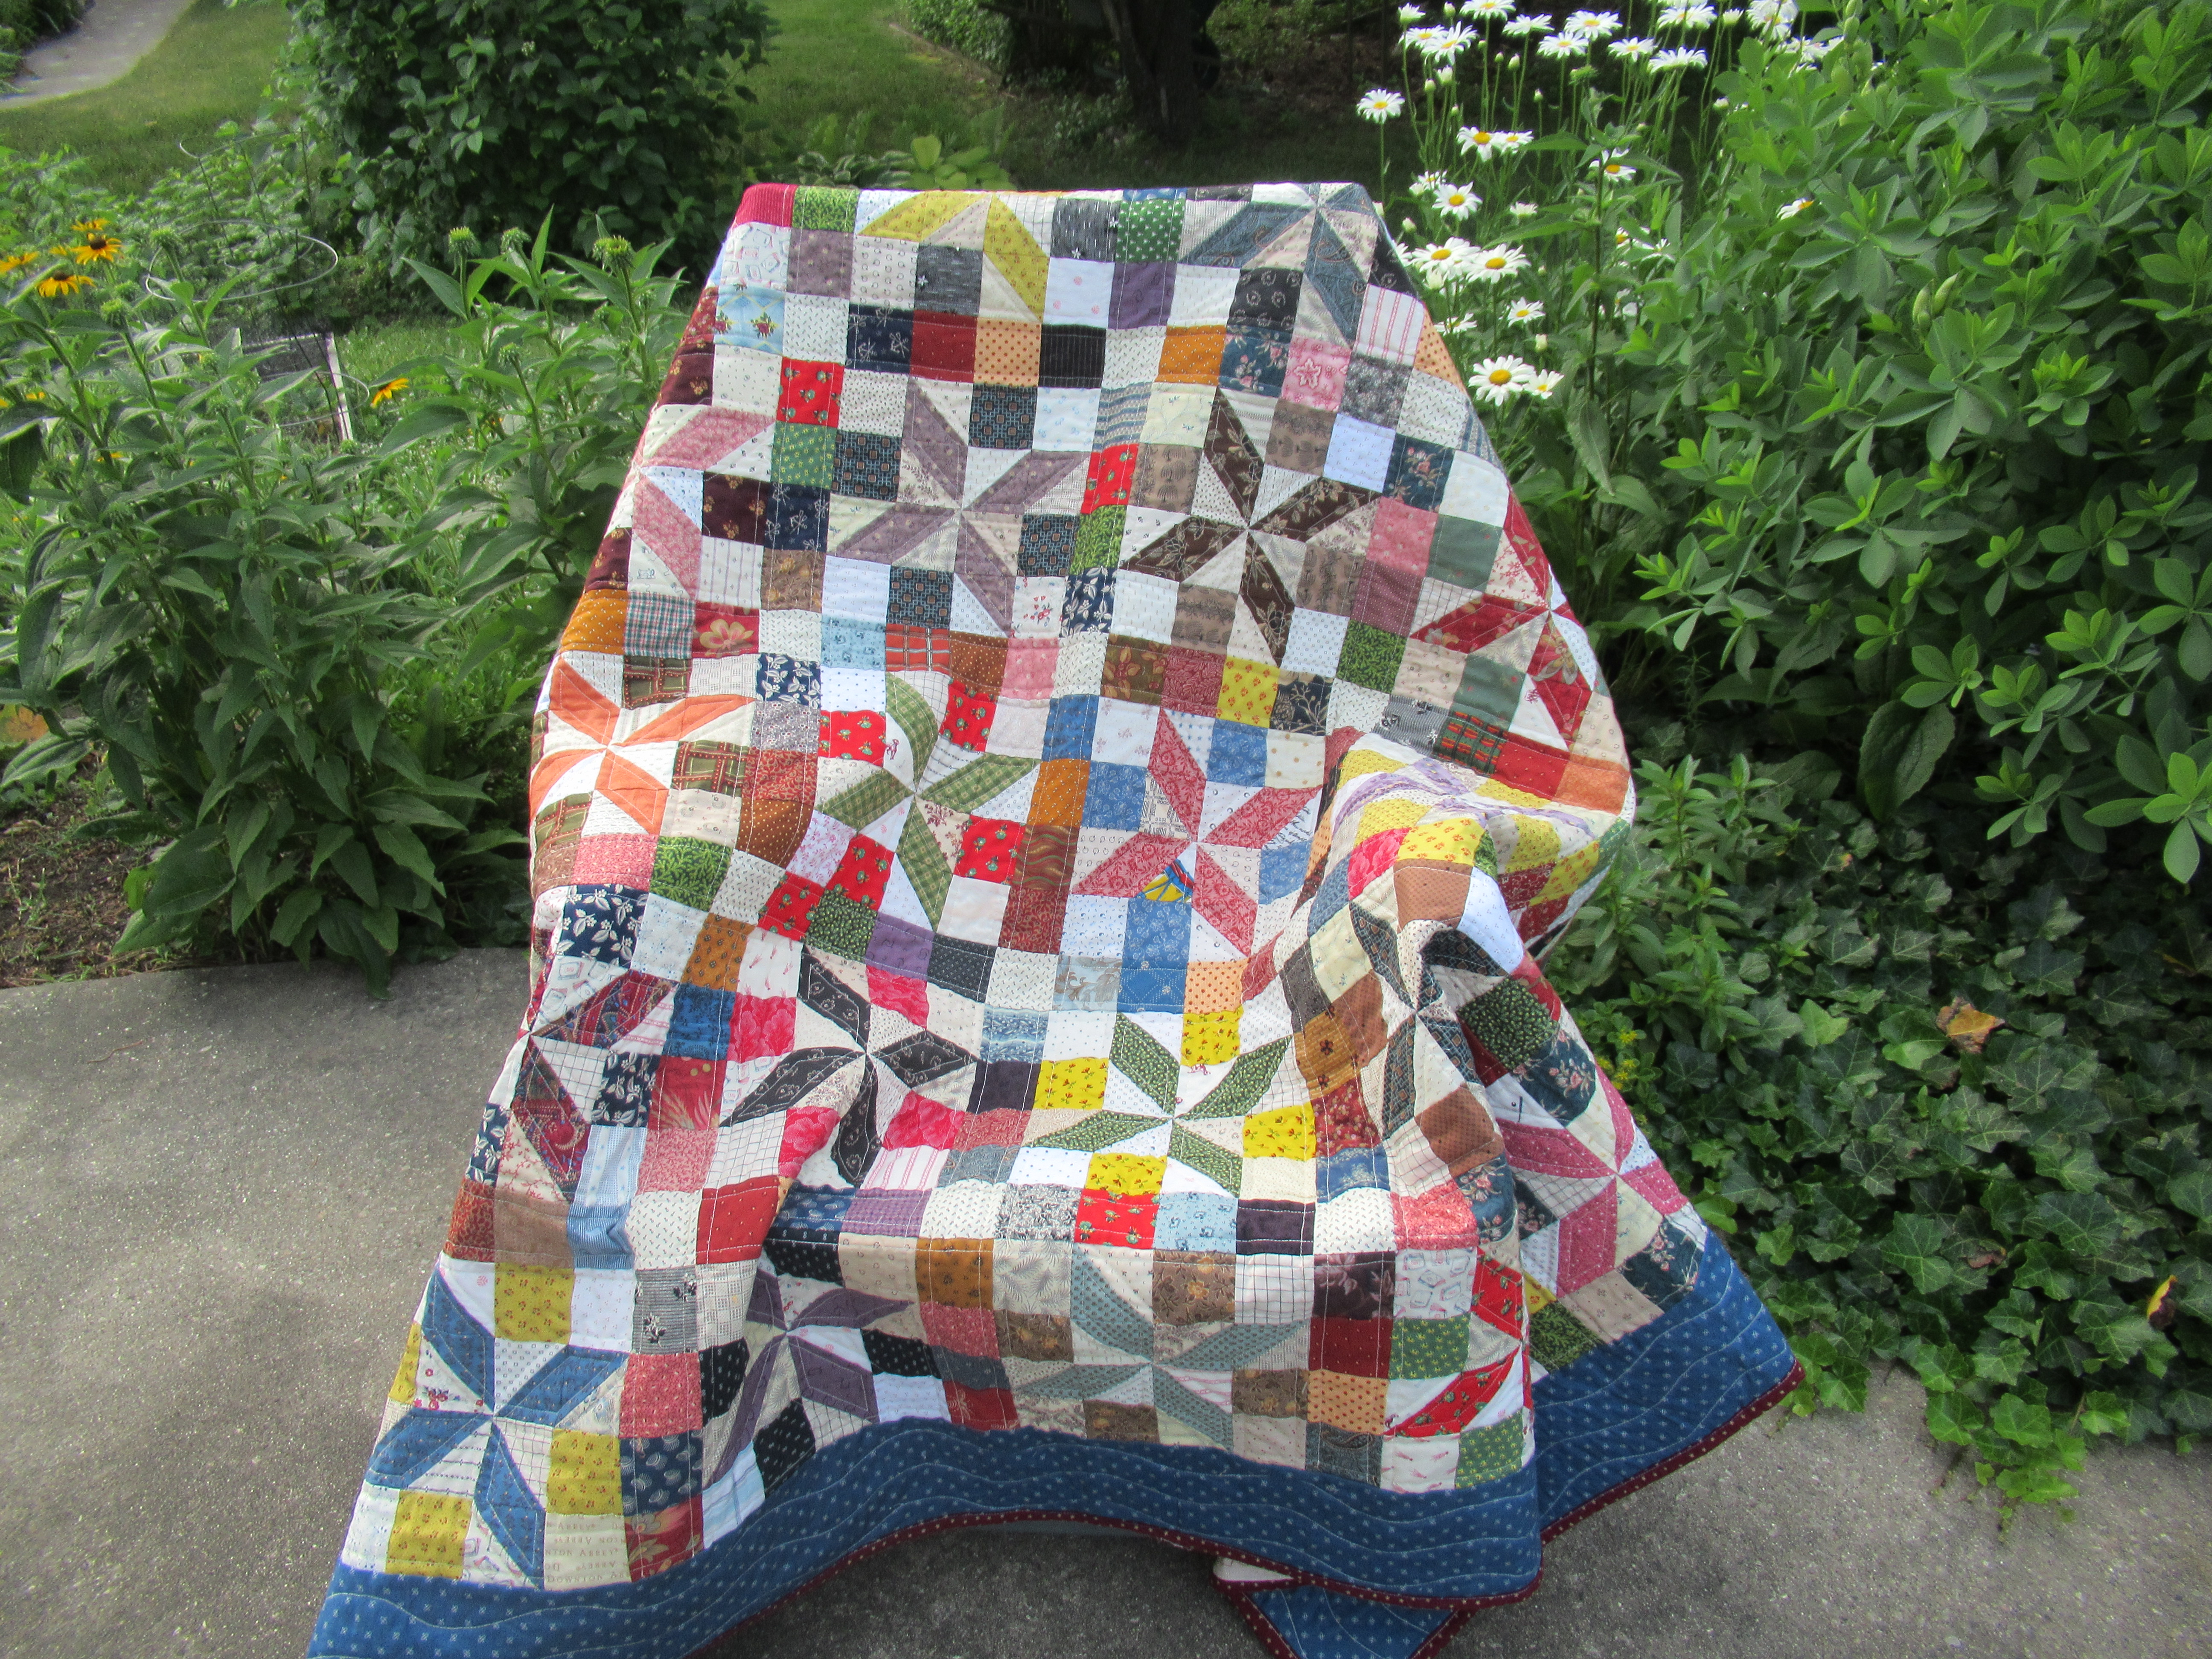
I finished a quilt on Monday.  And it wasn't a baby quilt!  It was one of my Rainbow Scrap Challenge projects from 2021, a twin-sized reproduction quilt.

I got started late in February on these blocks using my 1800s reproduction scraps.  The pattern, called Poinsettia Star, comes from the fabulous Bonnie Hunter's book Scraps and Shirttails II, as part of her Carolina Christmas quilt.  The star shapes (aka petals) were in the color of the month, with an additional color as an accent in the squares, plus a lot of light prints for background.

Here's all the blocks, laid out on the floor.  I didn't make a top for this quilt.  Instead, I divided it into sections so I could finish it quilt-as-you-go, with no handwork.

If you'd like to know how I do that, I've written a tutorial using this quilt as an example.  A couple of years ago I tried my hand at writing something similar, and got bogged down in prose and too many pictures.  This time, I've simplified things.  If you'd like to see it, click HERE.

For backing, I used some of my collection of Toile de Jouy prints.  I specifically chose the ones with patriotic and historical American images.  I only had about a yard of each, and two of the pieces are the same print, just in different colors.

Flags, covered wagons, Lady Liberty and George Washington!

A great quilt to finish on July 4th.

So that's the last of the RSC quilts from 2021!  (Never mind the RSC quilts from earlier years.  I've got more work to do there!)

For this year, the lovely purple scraps have come out to play as the color of the month for July.

I don't seem to have very many purple novelty prints.  How dreadful!  Something must be done!

In other news, our raspberries are starting to get ripe.  The little boys and I have been picking them in the mornings.  It's not cold out, we're wearing sweatshirts to keep the mosquitos off.  They've been awful this year.  (The mosquitos, not the boys!)

Very few of the berries end up back in the house.  I wonder why?

It happened again!  Can you tell what this terribly blurry picture is?  I caught this striped culprit in the netting that goes over my little strawberry patch.  A couple of weeks ago I caught the same one or its relative in just the same way.  This time, I took a quick photo before cutting the little scoundrel loose.  Next year, I'm going to work on a better system to keep the sneaky rodents and birds out.

For now, we're going to make the most of all the pleasures of the season.

Have a happy week!

Thanks for reading,

Sylvia@Treadlestitches

Linking up with:

Alycia at Finished or Not Finished Friday

Angela at So Scrappy

Cynthia at Oh Scrap 


Quilt As You Go, No Handwork: A Tutorial

 Welcome to Treadlestitches!

I do most of my own quilting on a domestic machine.  Baby quilts are easy!  For larger quilts, I either quilt a simple grid, or use a quilt as you go technique.

I started these blocks in Feb. 2021, as part of the Rainbow Scrap Challenge.  The pattern comes from Bonnie Hunter's Carolina Christmas in her book Scraps and Shirttails II, and is called Poinsettia Star.  The poinsettia "petals" were in the color of the month.  In October, once the blocks were done, I had to figure out how I wanted to quilt them.

I didn't make a top first, because I was going to quilt in sections.  I laid all the blocks out in 7 rows of 6 blocks each.

I made sashing strips from squares to go between the blocks and rows, and then I laid out the sections.  The center 3 rows are divided into 3 small sections of six blocks each.  The top 2 rows, plus sashing, are a section, as are the bottom 2 rows.  (Please excuse the bad lighting!  The sun was very bright that day.)

Also, not shown in the photos, I cut backing and batting for each section.  These pieces are just pinned together to keep them straight, NOT BASTED YET.

In this technique, you work from the center out.  I layered the center section with batting and backing, spray basted it, and quilted it.  In some places, I quilted right up to the edge.

One of the reasons I wanted to use this method was because I wanted to do outline quilting, rather than a grid.  Outline quilting, that is, following the seams of the piecing, was often done on quilts long ago, and seems appropriate for a reproduction quilt.  I quilted inside and outside each of the "petals", and around the edges of the blocks. 

This is the completed first section.

Now what?  

The basic principle of this particular version of quilt as you go is this: 

If you add an unquilted piece to a quilted piece, you don't need to do any hand sewing.

Here's how this works.


I'm going to sew the unquilted section on the left to the quilted section on the right.  The unquilted section has now had the blue border attached to it.  Please note, the unquilted section does not yet have batting or backing attached.  The quilted section has been trimmed on the edge that will now be sewn.

I lay the unquilted section face down on the quilted section, and stitch a quarter inch seam.  It's helpful to have a built-in walking foot for this.

I press this seam toward the newly added section with a hot iron.  You want the seam to lay flat, with no puckers. 

Then I add the backing piece, right side down, to the backing of the center section, also with a quarter inch seam.  I press this seam also.

Here's what it looks like on the back.  As you can see, I'm using different toile prints for the backing. 

Now I add the batting between the two layers I just added.  I use basting spray to spray just the batting, and then smooth the pieces over it.  I do the back first, then the top, but it would work just as well the other way.

Now I'm ready to quilt the second section.  So I do!  I'm leaving the border to be quilted last, when all the sections are done.

Here's what it looks like on the back, after quilting.

So that's the technique:  For each section, add the top, add the backing, add the batting, quilt the new section.  And repeat.

Now for some time lapse photography (well sort of).

Section 3 added, middle 3 rows complete.

Section 4, the top 2 rows, added, then quilted.

And the last section, the bottom two rows added.

Once all the sections were together and quilted, I marked and quilted the borders.  I used a wavy stencil, and marked with a chalk pounce.  It reminds me of a waving flag.

 The binding is a red patriotic print, also sewn on completely by machine.

Because I'm quilting from the center out, the sections are easier to maneuver.  As the quilt grows, I'm always working on the outer edges.  It can get a little tight at times turning the quilt to outline the piecing, but it's still easier than doing the whole quilt at once (ask me how I know!). 

I definitely don't mind doing handwork, but it's nice not to have to worry about it.  It makes the process go faster.

I wouldn't use this method for every quilt, but it's handy to know, especially for medallion style quilts.

Is this helpful?  If you have questions, I'll be happy to answer.

Happy Quilting!

Sylvia@Treadlestitches


Friday, August 13, 2021

Back in Time

 Welcome to Treadlestitches!

I recently returned from a trip back to the 1800s in American history, courtesy of museums in the Midwest.  Above is a photo of Firestone Farm, transplanted from Columbiana County, Ohio to the Henry Ford living history museum in Dearborn, Michigan.

As I made my reproduction quilt blocks this week, I gave some thought to what life was like a hundred or so years ago.  These blocks were technically last month's, when dark blue and/or dark neutral was the color of the month for the Rainbow Scrap Challenge.

My blocks were made on a treadle, but I've never used one as old as this one, from the collection of the Cincinnati History Museum.  This is an early Wheeler and Wilson.  Check out the foot-shaped pedals!  (My everyday treadle is much newer, dating from 1909.)

I did get around to making my aqua repro blocks.  The block is called Poinsettia, and I use the color of the month for the "petals".  The dark squares are just any color that goes with the petal fabric.  The pattern is by Bonnie Hunter, and is part of her Carolina Christmas quilt, in her book Scraps and Shirttails II.

Aqua is a tough color to find in 1800s reproduction fabrics, but I had enough of three prints at least.

I'm glad we don't have to weave our own fabrics in this day and age, but it was very interesting to see the antique looms at the Henry Ford.  Upstairs (where we couldn't go this time due to COVID) is a jacquard loom operated by hundreds of punch cards.  The technology was invented in 1804, and the reproduction loom was built by a curator in the 1930s.  (Click HERE for an article on the loom, plus photos.) 

I'm also glad we have more choices in fabric for quilts and for clothing in modern times.  According to the Cincinnati History Museum, the "average yearly budget for clothing in the mid-1800s was about $25 per person". Wages and costs were lower, of course, but that is still a very small amount.  People had dramatically fewer clothes than we have, and made them last longer.

This is a lovely collection of textile fibers, ready for carding, spinning, plying, dyeing, weaving or knitting.  There is a lot of work between shearing the sheep and knitting the socks or sweaters.

I really loved visiting these museums and seeing how people lived long ago.  But I'm under no illusions about the back-breaking work and hardships that were commonplace in the 1800s.

Here's the weirdest sewing-related thing I saw on this trip.  It was in the main museum building at the Henry Ford.

This diagram shows a contraption called "The Backus Water Motor".  I hope you can see the drive belt between the water motor and the flywheel on the treadle.

Here's a closeup.  Basically, the user would hook up the water motor to the kitchen pipe, connect the belt to the treadle, and turn on the water.  The water would drive the treadle and supply the power.  This is a completely insane way to run a sewing machine.  What an enormous waste of water!  Mr. Backus got a sewing machine related patent in 1874, at a time when some homes had running water but none had electricity.  What a difference a few years makes.

This week, in my air conditioned home, complete with running water AND electricity, I made a few more aqua blocks, like these 4 patch stars.

I'm re-reading this lovely book by Fons and Porter that features quilts from the Henry Ford's collection,

and my little grandsons are "reading" a Sesame Street book together.

We did take time out to make (and eat!) these big dinosaur cookies.

I hope you can take time out this week to do special things with people you love.  

Life is short!  Eat dessert first!

Cheers for reading,

Sylvia@Treadlestitches

Linking up with:
Angela at So Scrappy
Cynthia at Oh Scrap 


Saturday, June 26, 2021

Taming Down the Stash with Bonnie and Marie

 Welcome to Treadlestitches!  And welcome to the last purple week for the Rainbow Scrap Challenge.  I have loved making quilt blocks with all the wonderful shades of purple.

Regular readers of Treadlestitches will know I babysit three of my grandchildren while their parents work.

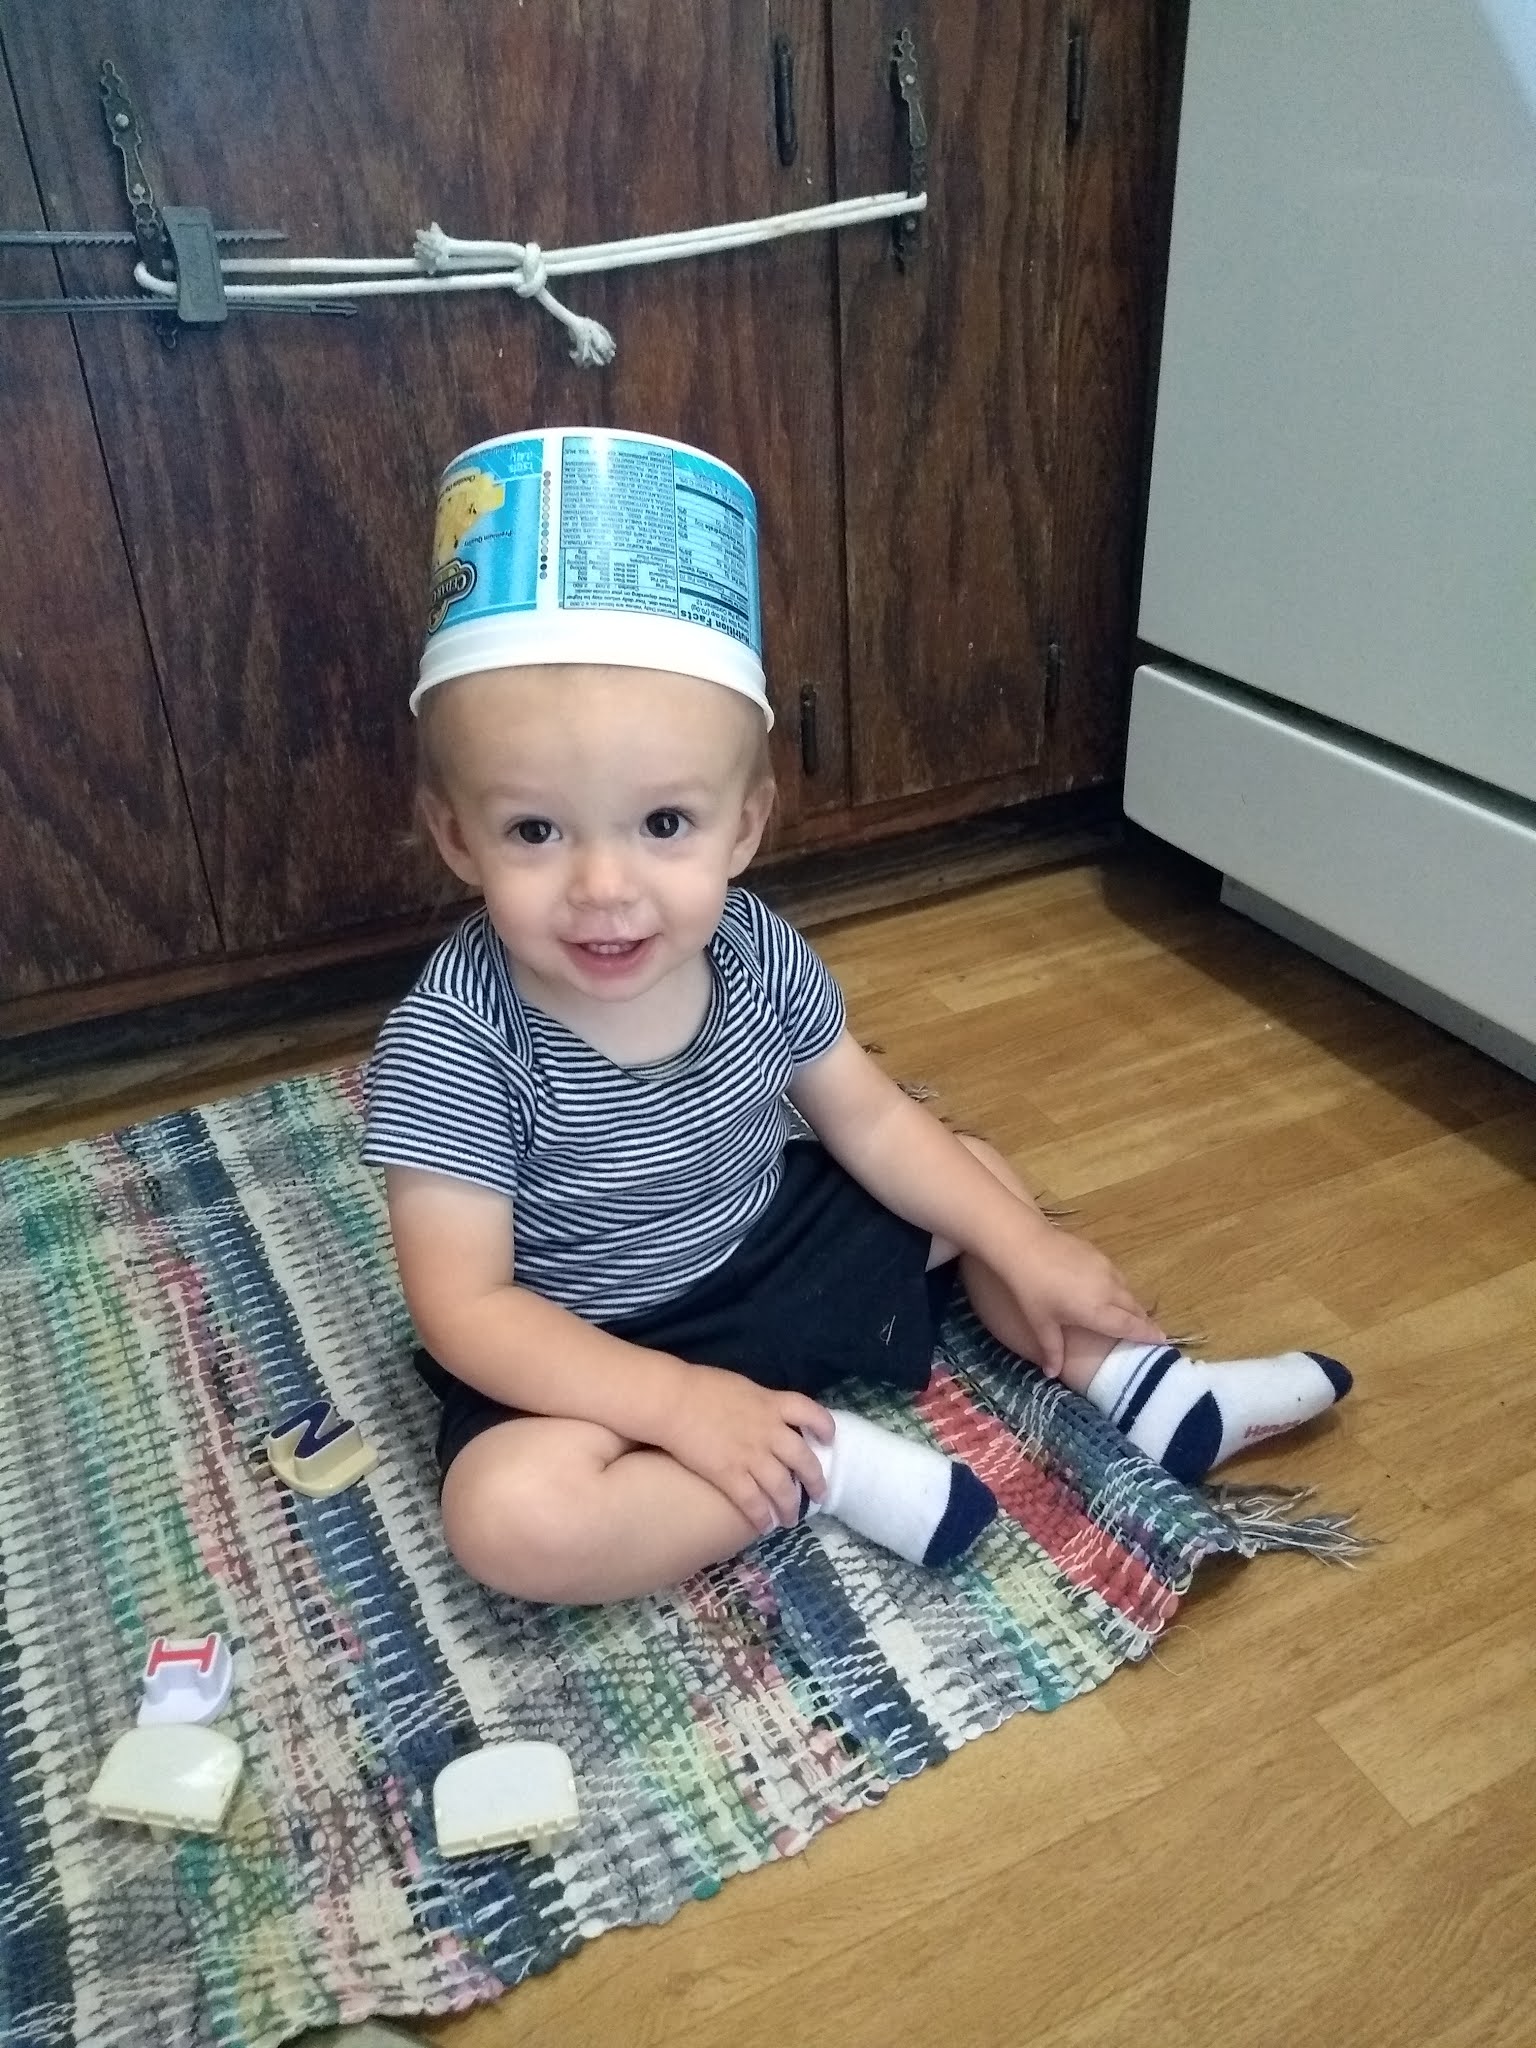
Running after this adorable bucket head and his brothers keeps me pretty busy.  So I when I get time to quilt, I need to be as efficient as possible.

My favorite projects are charity quilts for children, and I love to buy the fabrics for these quilts at rummage sales, flea markets, etc.  Processing these fabrics into my stash takes more effort than if I had just bought them at the quilt store, but it's worth it for the variety and the price.

Thank goodness for people like Bonnie Hunter (who pioneered the scrap user's system) and Marie Kondo, author of The Magic of Tidying Up.  Today I'm going to show you how I process a big haul, like the one I wrote about last week.
First, I wash all the larger pieces.  I'm removing sizing, if the fabric was never washed before.  Some fabric softeners make me sneeze, and there are occasionally pieces that smell like cigarette smoke or that unmistakable basement odor, so everything except small scraps gets run through the washing machine.  I use a fragrance-free detergent.

Then I fold the fabric, more or less following the Marie Kondo method (called Konmari) that I learned about in this video, from Stephanie Soebbing of Quilt Addicts Anonymous.

In the photo above, the fat quarters are on the left, then half yards, then one yard pieces, then multiple yards.  All of these measurements are approximate.

Once the fabrics are washed and folded, they get filed into bins.  These bins hold the fat quarters.  They are arranged by color.  Right now I have a big bunch of multicolor fabrics that I'm not sure what to do with.  (Any ideas?)

These are the half yard baskets, similar to the ones in the video.  You can tell at a glance I need more red and more purple.

The one yard pieces are in bigger bins.  They're very good for borders on children's quilts.

The biggest pieces, more than 1 yard each, go in these soft-sided bins on the closet shelf.  They're great for backing, but also for borders or binding.  After recent shopping trips, I'm stocked up here.

Now, what about the scraps?

I divide the scraps into big scraps (on the right) and small scraps (on the left).  Big scraps are at least 6 in. wide, and could be cut into a variety of sizes, so I leave them to cut when I need them.  Small scraps are less than 6 in. wide.  (In the center are two packs of Halloween charm squares, which I just filed in the charm square box.)

Big scraps are rubber banded by color and put in this big basket.  Then when it's purple month, I grab out that bunch and cut what I need.  Also, if I use most of a fat quarter and only have a big scrap left, it goes here.

The little scraps are cut into strips or squares and rectangles, depending on the size of the scrap or any projects I'm cutting for.  I modified Bonnie Hunter's excellent scrap users system to suit how I sew.  The sizes I cut are (from left to right), 5 in., 4.5 in., 3.5 in., 2.5 in., 2 in., and 1.5 in.  I have drawers or small bins for each of the strip sizes, and boxes for each size square.

When I trim the scraps, I'm usually cutting them to the largest size I can.  If however I think I would use two 2.5 in. strips rather than a 5 in. strip, then that's what I cut.  I'm always thinking about what I'm planning to make and what I already have. 

Strips and squares etc. are stored in the closet. 

When I'm cutting for a scrap quilt, I start with scrap user's system, then go to the big scraps, then to fat quarters, and so on.  

The bins are stored on a book shelf, in a dark corner of the sewing room, where they are not exposed to sunlight.

It's taken me a while to change to this system, and I find that I really like it.  I can see what I have (and what I lack), and seeing the bright colors is inspiring, even on a rainy day.

More positivity blocks for Sew Preeti's Quilt Along!  Sorry the photo is so dark, it's a rainy morning here.

The grand kids were having a pool party last Sunday at our Father's Day cookout. The pool was mostly for Baby Buddy, but he wasn't having it.

The summer is going by so fast!  Next Sunday will be July 4th already!

Here's wishing you a happy week ahead.

Thanks for reading,

Sylvia@Treadlestitches

Check out the linky parties, you are cordially invited!

Angela at So Scrappy
Cynthia at Oh Scrap