Thursday, June 27, 2013

No More UFOs????


 Confessions from the Basement

It's time to come clean on my UFOs (UnFinished Objects).  Here are some bins from the storage part of my basement.   I apologize for this blurry picture.  To the right of the picture, behind the vintage sewing machine, are bins with scraps of mostly wool and denim for making rugs.  On the left of the picture is a dollhouse (the light blue rectangle) atop two drawers full of vintage fabric from the turn of the 20th century (1900 or so).  The stack of 4 bins in the foreground contains quilt tops I have made, ready to be quilted.
Many of these tops were made from old blocks and/or vintage fabrics.  I loved making them.  So I just kept right on doing it.
These are some of the tops in the first box.

Box 2 has lots of reproduction tops, some of my favorites.


Box 3 has my Ruby McKim embroidered quilts and lots of other 1930s blocks made into tops.

Box 4 has a few good quilts, and a few I was not satisfied with.  At least one of them has been in storage for over 20 years.

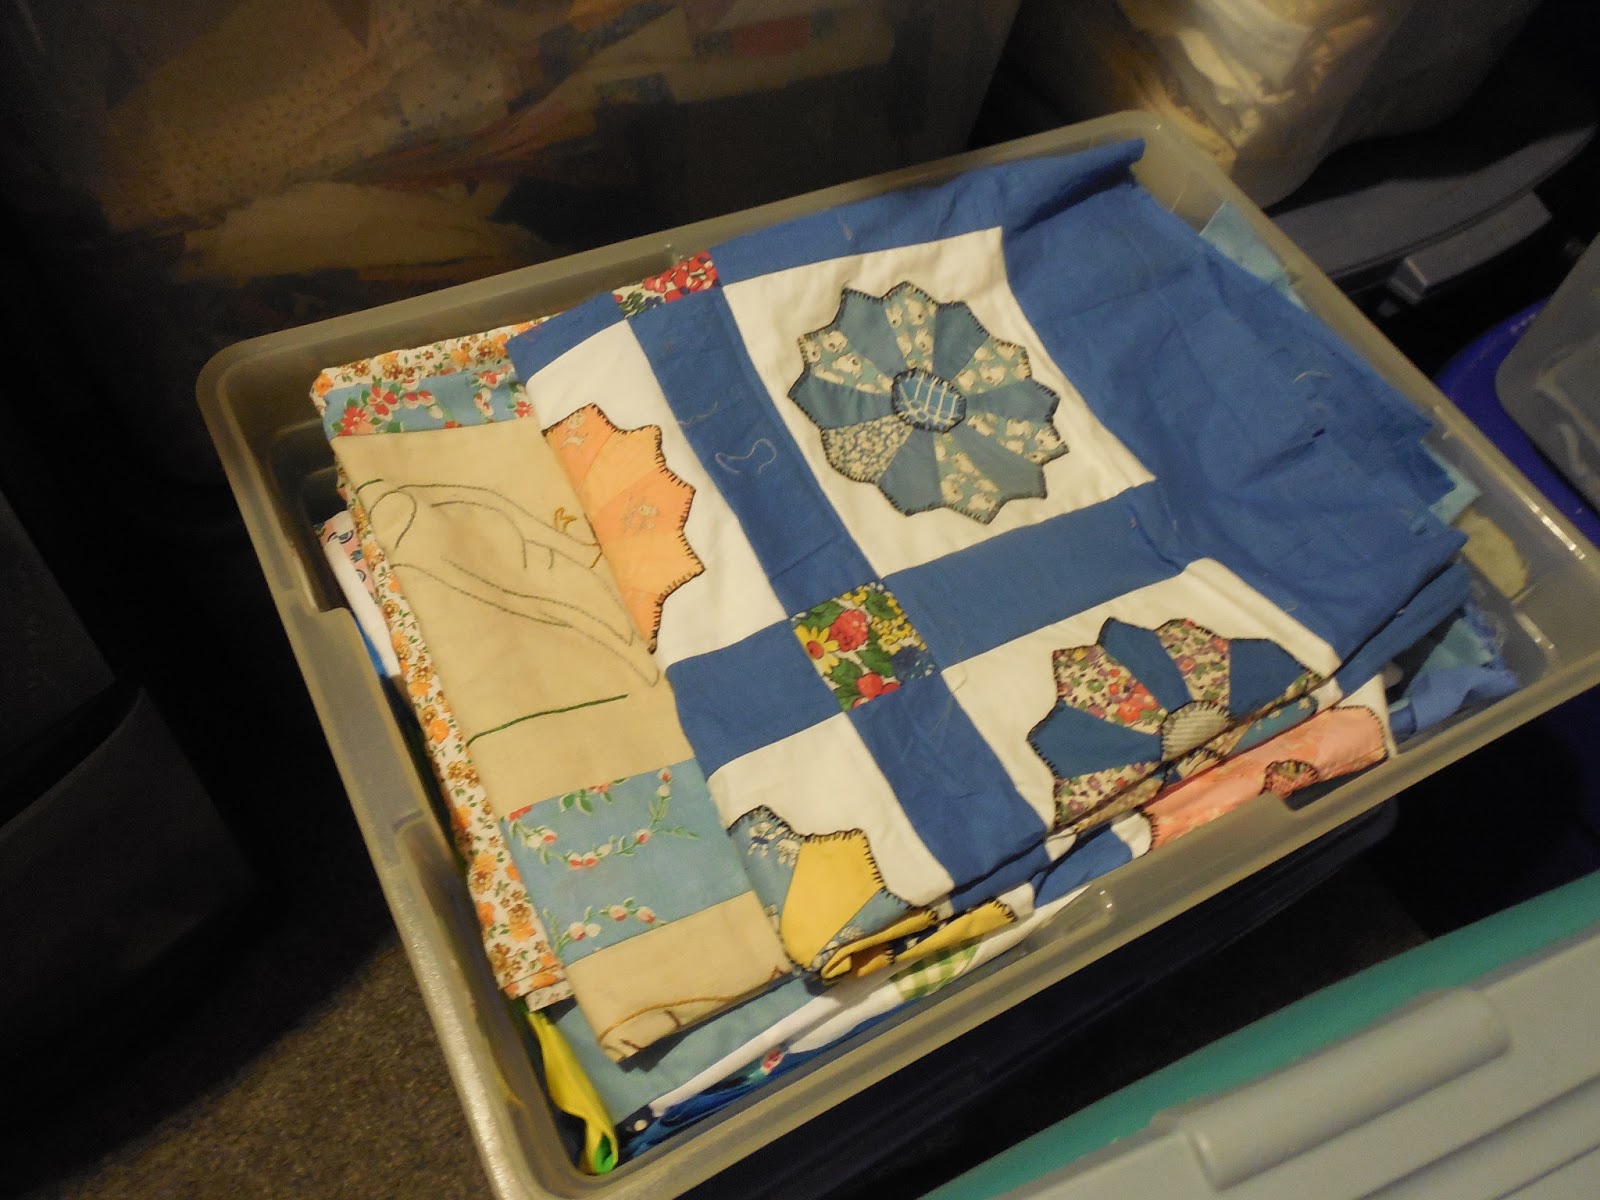
As you can see, I have a problem!  I have been afraid to even count how many tops are in these bins.  And even this does not address the stacks of blocks not yet made into tops.

This is why I started using the Pick Six system back in November.  It's been over six months now, so I decided to evaluate how well it was working.

As some of you may recall, I made a list of 6 quilts to work on, and I only allowed myself to work on those quilts.  They could not come off the list until they were COMPLETELY FINISHED, meaning quilted and bound.  And nothing could go on the list until something came off.  Quilts for charity were the exception--they did not go on the list, and I could work on as many as I wanted to.

So here are the results!  Since November, I have completed 8 quilts from the list--the wool quilt, Henry's quilt, Debbie's challenge, the Civil War potholder quilt, the Dutchman's Puzzle, the repro Tumbler, Arlington (another Civil War repro), and the small Farmall quilt.  So that's the plus side.  On the minus side, 3 of the quilts that were on the list in the beginning are STILL on the list--the Ocean Waves top, the Basket of Chips top, and my great grandmother's Solomon's Puzzle.  I've done a little more hand quilting on the Solomon's Puzzle, but I haven't touched the other two.

I don't want to be like one of those people who go on a fad diet, lose some weight, and start preaching to everyone they meet about it.  I think this system is actually working for me, but it probably wouldn't work for everyone.  Some people are a lot more organized than I am, and actually don't have an enormous backlog of quilt tops and blocks.  And some people would feel so restricted by this system that they wouldn't want to quilt at all.

For now, I'm going to stick with it.  What it means for me is NO MORE UFOs.  And by that I mean I'm not CREATING any more.  That doesn't mean I don't HAVE any more.  (For evidence, see above photos.)

Let's talk UFOs.  Do you have a lot?  Do they make you feel guilty?


Got food? Thank A Farmer

The Farmall Quilt
This is just a little quilt I made on a whim.  My friend Debbie and I went to the Sun Prairie Quilt Show in May, and I bought half a yard of fabric with pictures of  Farmall tractors.


I pulled fabrics from my stash to surround each of the photos I cut from the fabric.  It was fun finding fruits and veggies, etc.  I barely had enough of the black background/veggie fabric to use on 5 of the squares.

For the back, I cut 10.5 in. squares of food/farming fabric and pieced them together.  I added in the fabric printed to look like the Sears catalog, since that was so important on the farm for so long.


The quilting is simple, the batting is Soft and Toasty, and I got to use up some of my red cow fabric in the border.  The back includes chickens, cows, strawberries, cherries, seed packets, and nostalgic feed sacks.

It's important to be grateful for the farmers who provide us with our food.  I always look forward to summer mornings at the farmers market and fall days at the orchard.

I didn't exactly grow up on a farm, although we lived on a hog farm when I was in high school.  We never had a tractor, just a rototiller and an old truck.  My grandparents came from farms and always planted a garden in their suburban back yard.  And Mom's garden on the farm was about a acre of veggies that I didn't appreciate then.  (That might have had something to do with having to hoe it!)  I grow a garden now like my grandparents did.

What are you growing?


Monday, June 10, 2013

Arlington

It's finished!  This is the quilt-as-you-go quilt I've been working on.  I finished sewing the binding down by hand last night, and washed and dried it.
All the little pieced blocks were made from my scrap bins, the 2.5 in. and 1.5 in. ones in particular.  Because I have had so many Civil War and pre-Civil War reproduction fabrics in other quilts, I was able to use the scraps from them in this one.
I really should thank Judie Rothermel for all the great prints!  I collected them for years.  I can't remember where the yellow print came from, but I bought it in the last couple of years.  The brown sashing, red cornerstones and border, and the brown/cream print backing all came from J. J. Stitches this year, on sale for $5.00 per yard. (!)
I like to add a little of this Millennium fabric whenever I make a reproduction quilt.  It's like a little clue for future quilt lovers as to the date.  I'm pretty sure this one wouldn't be mistaken for an old quilt, though.
The binding is one of Judie Rothermel's prints, too.  I like a narrow striped binding on a reproduction quilt.
I quilted a big swag in the border, to mimic the swags in curtains and other home furnishings from this time period.  Plus it was dead easy to do.

I named this quilt Arlington.  It came to me when I was sewing down the binding.
Sometime in the early 1990s, we took a family trip to Washington, D.C.  We did all the usual tourist things, of course--the Smithsonian museums, Mt. Vernon, even a trip to a theme park in Williamsburg, VA.  One afternoon we went to Arlington.
Before it was the National Cemetery, it was a home.  Arlington House, which still stands, was built by George Washington Parke Custis (sometimes called G.W.).  When Martha Washington married George, she was a widow with two children.  G.W.'s father was Martha's son Jack.  When Jack died young, George and Martha Washington adopted G.W. and his sister Nelly and raised them.
G.W. and his wife had only one child who lived to grow up; their daughter, Mary.  Mary married a dashing young army engineer named Robert E. Lee.  Six of the seven Lee children were born at Arlington.  They spent many summers there with their grandparents.
A few years before the Civil War, G.W. died.  The Lees stayed at Arlington while Col. Lee settled the estate.  They were here when Lee wrote to President Lincoln, refusing his offer to lead the Union armies and resigning his commission.
As the shooting war began, Col. Lee and his sons left to join Virginia troops.  The women stayed on for a time, but eventually left as well.  None of them ever returned to live there.
United States troops took over Arlington.  Eventually they were commanded by Gen. Montgomery Meigs.  He started having troops buried there, as a way to punish Lee for his disloyalty.  This was the start of the National Cemetery.
The house itself is imposing on the outside, and beautiful but more homey on the inside.  The Custis and Lee families were by all accounts close and happy. 
The beautiful cotton fabrics made in the antebellum years, which my quilt imitates, and historic Arlington house have more in common than just the time period in which they were made.  Both came about because of slavery.  Slaves planted, cultivated, and picked the cotton on Deep South plantations, which was sold to the Northern mills to be woven and printed.  Arlington was not just a house, but a plantation itself (although not of cotton).  The leisure of the owners was bought by the work of generations of slaves.
And this is the triumph of all those soldiers, buried beneath the white tombstones in their ordered rows.  The men and boys that fought for the North in the Civil War not only saved the Union.  They ended forever the institution of American slavery.
When I touch this quilt, I will remember that visit to Arlington.  I will remember the sunshine coming in through the windows of the house, the lovely period interiors, the hoop skirts of the interpreters, the amazing view across the Potomac. 
I will also remember the sacrifice of those soldiers, who died so the nation might live, and whose victory meant freedom for thousands then, and millions yet unborn.
Union Soldiers at Arlington House during the Civil War

Sunday, June 9, 2013

Sticks and Stones Baby Quilt


I think I'm back on track with quilting.  The garden is in the ground, and we've got the bathroom painted.  There's lots more to do (isn't there always?) but I can take some time and energy for quilting.  Funny thing, when I spend time quilting, it seems to give me more energy.
Today I finished this little darling.  It's a charity quilt, made from a charm pack and some added fabrics.  The charm pack was donated to our quilt group by a lady who is moving on to other crafts from quilting and has no use for her lovely stash.  I just can't imagine being in that position (can you?) but we're very grateful for the fabrics.  Colleen and Joan L. put some coordinating squares with the charm pack (great choices, ladies!).  I added the white, the tiny yellow squares, and the borders/backing/batting/binding.
When you look at this quilt, it seems like the white pieces are sashing.  It's a trick!  The white strips and yellow squares are part of the block.  There are twelve blocks in this quilt, 3 across and 4 down.  The blocks measure 10 in. finished.
This picture shows a corner, so you can see the block more clearly.  Each block has 4 charm squares, all different.  To me, it looks like a present.  Or at least the way I used to draw a present in elementary school.
These are such cute fabrics!  I really love the monkeys and birds.

The pattern comes from Bonnie Hunter.  I scaled it down from a larger lap quilt.
Here's the link:  Sticks and Stones Quilt Pattern

As usual with the charity quilts, I quilted it in the ditch, with Warm and Natural batting, and bound it by machine.  I hope it will find a happy home with a child.

Carpe diem--seize the day!


Tuesday, June 4, 2013

Rails and Squares--Oklahoma Bound

It's been hard to find time to quilt lately.  I have quite a backlog of charity quilts that need to be finished.  My wonderful quilt group is having a work day soon to make quilts for those in Oklahoma that need them, after the recent tornadoes.  As some of you know, I have family in Oklahoma.  I am very thankful that they are all safe and well.  You can guess that this cause would be near and dear to my heart.  I don't know if I can go to the work day, but I can make up some quilts to send.

I call this quilt Rails and Squares.  It's a variation on a couple of traditional patterns.  I thought it up myself, but it seems likely that somebody thought of it before.  I used bright fabrics from my bins.  The blocks are 9 in. square finished.
To make one block, cut 5 squares 3.5 in. x 3.5 in. of the same fabric.  In the block above, it's the blue with stars.  To make the rails blocks, you need 3 strips, each 1.5 in. wide by at least 15 in. long.  I used two brights and one light, with the light strip in the middle.
Make a strip set with the 1.5 in. wide strips.  In this case I sewed the orange to the light to the red.  I pressed the seams toward the bright fabrics (away from the light strip).  Then I cut 3.5 in squares from the strip set.
Now it's just a nine patch.  I placed my rails blocks so that one color surrounded the center square (in this case, orange).  I just liked it this way.  It looks a little more complex, or something.  Just sew the rows together, matching the corners.
For this small quilt, I made 12 blocks and set them side by side, without sashing.  At that point, it measured 27 in. x 36 in. (finished).  Then I added a 3.5 in wide border, for a finished quilt size of 34 in. x 43 in.
Here's one of my favorite blocks.  I just love the happy frogs!  In a couple of places, I didn't quite have enough of one fabric, so I substituted another.

The batting is Warm and Natural.  I quilted a 3.5 in grid in the ditch, and bound it by machine.

In these pictures, it's just off the clothesline, so it's got a few creases than will settle out.

Well, that's one done, anyway!  Why aren't my bins getting emptier?


Saturday, June 1, 2013

How to Sew Quilt As You Go Sections Together--My Way


Things are finally coming together!
Remember this project?  This picture shows the three sections of this quilt, which I am quilting separately, layered with batting and backing.  The quilting went fairly quickly, and this week I finally got around to setting the sections together.
There are lots of ways to do this, and several books that describe them (I think I own most of them).  Over the years, I've been evolving a way that works for me.
When I do this, I use a two-layer seam--just the top of one section and the top of the other section.  I fold the batting and backing out of the way, and use lots of pins to secure the seam.  (When quilting, I have to make sure not to quilt too close to the edge of each section.  If I do, it's much harder to get the backing and batting out of the way.  Sometimes I have to resort to the trusty seam ripper.  Sigh.)  I like to allow at least an inch un-quilted on each edge.
Here's the beginning of the seam.  I use a ton of pins, and go slowly.  I have to be careful to support the weight of the sections on the left, or it pulls on the machine.
Once I've sewn the first seam, I do the same thing for the second seam.  Now the quilt is finally in one piece!  Here's what the back looks like.
As you can see, I have a lot of extra fabric here.  I do that on purpose.  I have tried this with a bare minimum, and it is too easy to pucker the seam or to not have it lie flat.  In this picture, I have started trimming the batting.  I do NOT want it to overlap.  I'm aiming for it to meet at the seam line.  If it overlaps, I get than unsightly bump on the seam.
Once the batting is trimmed, I trim one side of the backing.  I don't trim it very much, just enough so that it lies flat and smooth.  I trim about to the quilting closest to the seam.  I will end up with four layers here--top, batting, and two layers of batting.  Because I'm machine quilting, the thickness isn't a problem.  Having extra backing here also means less stress on the hand stitches, which makes them less likely to pull out.
Next, I smooth the upper layer of backing over the seam, turn the edge under (at least half and inch), and pin.  I'm working to make it very smooth and very flat.

The next step is blind stitching the backing in place.  I usually work with the quilt on the kitchen table, to keep the quilt flat.

Since there are only 2 seams to do by hand, it doesn't take too long.  I finished them both the other night, between supper and bedtime.

And here's the quilt from the right side. When I'm working on it, I check the right side occasionally to make sure I'm not causing any wrinkles or puckers.
 I still need to quilt the sashings where the pieces are joined (this will quilt down any loose batting), and quilt the borders.  Maybe tomorrow?
I've finally thought of a name for this quilt.  I'll share it in an upcoming post.

On another note, don't you just love summer?  I think it's finally here!  On Thursday, I washed some of our everyday quilts, and hung them on the clothesline.  The wind dried them in a hurry.  This is not recommended for antique quilts, of course, but it works fine for the ones we use for cover when reading or watching TV.


I just noticed--all the quilts in this picture are quilt-as-you-go quilts too!