Showing posts with label Civil War. Show all posts

Friday, May 16, 2014

So Many Quilt Blocks, So Little Time

I love making quilt blocks.  It is so much fun to cut and piece them, especially if I am cutting from my scraps.  Next to hanging out with family, it's my favorite thing to do.

I find I never get tired of piecing, probably because I'm always trying something new.  It may not always work out the way I want it to or expect it to, but that's just part of the challenge.

Lately I've been getting many of my challenges/ideas from the internet.  (Aren't we lucky to live now?)  A few posts ago I mentioned the Jane Austen block of the week, with blocks and background information by quilt historian Barbara Brackman.  What I didn't know then was that Ms. Brackman was running another blog with a block of the month, called Threads of Memory, based on real people and events on the Underground Railroad before and during the Civil War.

Threads of Memory started in January, so I've got some catching up to do, but the new block is posted at the END of the month instead of the beginning.  As of now there are 4 blocks.  Each has a wonderful TRUE story about people who escaped from slavery, and the people who helped them.  The articles are well researched and illustrated.  The blocks are new, designed by Ms. Brackman, but based on familiar shapes and stars.  These are all 12 in. finished blocks.


Here's my first block, named Portsmouth Star, for Ona Judge Staines.  (I must admit, I changed it a tiny bit.) Ona was a slave who "belonged" to George and Martha Washington.  She ran away to New Hampshire and managed to keep her freedom, in spite of efforts to kidnap her and return her to the south.  I made the square in the center from plain muslin, so I could write a little bit of the information on it.  It reads: 
In Memory of Ona Judge Staines.  A free woman of color, and "perfect mistress of her needle".

My second block is called Mercer County Star, and honors Susan Lowe Wattles.  She and her husband worked to help freed slaves find jobs and land.  She was a teacher, who bravely taught black children and was persecuted for it by many of the people of Cincinnati.

For some reason I'm having trouble with these blocks, and not making them as nicely as I would like.  Maybe I'm in too much of a hurry.  Time to slow down.

Here's the link to Ona's block, the first in the Threads of Memory block of the month:
Threads of Memory #1: Portsmouth Star

The rest of the blocks can be kind of hard to get to through the blog.  The best way I've found is to go to the Flickr page where there is a current list of links to each block.
Threads of Memory Block Index

Another fun block I'm making is the Granny Squares block.  This version is made from 2.5 in. squares.  It's an old block, similar to an Album block, Brackman #2413.  The cool thing is, young quilters have rediscovered it and renamed it Granny Square, like the crocheted squares we did for afghans in the 1970s.
These blocks are made with 2.5 in. squares.  The outer white triangles start out as squares, that are trimmed away when the block is finished.  They end up measuring about 9 in. unfinished (8.5 in. finished).  Cute, right?
This trend seems to have been started at the Blue Elephant Stitches blog, which has a tutorial made up in modern fabrics.  The link is below.
Granny Square Quilt Block Tutorial
The above tutorial is made with squares.  She did an updated tutorial for the Moda Bakeshop with some limited strip piecing.  Here's the link to it:
Granny Square Quilt at Moda Bakeshop

So what am I going to do with all these blocks?  I guess I'll have 12 of the Threads of Memory blocks at the end of the year, which if properly set will make a twin sized quilt, so I'm not worried about those. 
The Granny Squares could end up being a big quilt, as long as I don't get tired of making them.  I have enough 2.5 in. strips to cut for a long, long time.
In the meantime, I'm using up scraps and staying out of trouble.

Happy quilting!


Sunday, April 6, 2014

Historical Fiction

I love antique quilts.  I have inherited a few, mostly from the 1930s through the 1960s.  I bought a few (well, maybe more than a few!), plus lots of blocks and pieces to finish into quilts.  And since the sincerest form of flattery is imitation, I have made more than a few reproduction quilts.  This is not really one of them.
This block is called Antique Tile.  I chose it for a couple of reasons.  It was simple and fast to piece, but most importantly I could use up some of the dark strips in my 2.5 in. strip drawer.  There are a lot more dark fabrics in the quilt than light, which is good because I'm getting low on light 2.5 in. strips.  It also uses a dark 4.5 in. square in the center, and since I had a box of squares and strips that size I could use some of them up.
It might look like a reproduction quilt.  After all, the block is an old one, and the fabrics are all reproduction fabrics.  The two blocks in the bottom row above give the game away.
When I make a reproduction quilt, I do my homework.  I go through books, pouring over color pictures of quilts from the intended time period.  I read again which fabrics were produced then.  I choose blocks quilters of the time might easily have chosen.  I choose my setting and backing based on history.
I want my reproduction quilts to look like old quilts.  I want them to look like antiques from across the room.  Close up, the viewer will see the machine quilting, and hopefully the label or inked signature and date on the back.  There might even be a piece of fabric from our time period hiding in with the repros.  (For quite a long time I used the fabrics printed with the year 2000.  Sadly I'm about out of those.)
Those two blocks above show why this is not a true reproduction.  The brown one on the left has fabrics that replicate those from the 1840s-1860s.  The blue one on right has fabrics imitating those from the 1890s-1900.  Even though I've seen quilts that contain scraps from several decades together, they would probably not be quite like this.  Also, the set is a fabric from a Civil War line.  Usually, if the blocks span a wide range of time, the setting fabric is from the newest time, not the oldest.
So this kind of quilt is more like historical fiction than history.  There's nothing wrong with that!  I like the look of it, it was fun to make, and I did use up a few strips.
I used to read a lot of historical fiction.  The best of it can make you feel like you really lived long ago. 

Here's the pattern for Antique Tile.  This makes a 12 in. finished block.
This is the finished block.
Here you can see all the pieces.  I suppose you could strip piece these, but I just cut them separately.

Cutting directions:
For each block, I chose three colors--the main color, the light, and the corner color.  For the main color, I used three prints in that color.  In the block above, the main color is indigo blue.  The center square, the small squares, and the outside rectangles are each a different print of indigo blue (the center might look gray in this picture, but it's really blue.)    The light rectangles in my blocks are mostly shirting fabrics.  The corner color is a contrast to the main color.
Cut:
1 center square in the main color, print #1, 4.5 in x 4.5 in.
4 light rectangles, 2.5 in. x 4.5 in.
4 main color squares, print #2, 2.5 in. x 2.5 in.
4 main color rectangles, print #3,  2.5 in. x 4.5 in.
4 corner color rectangles, 2.5 in. x 4.5 in.
4 corner color squares, 2.5 in. x 2.5 in.

Here's how I sewed them together.  You could also sew them in strips, top to bottom.
I made the block like a nine patch.
First I sewed the light and dark rectangles together.  There are 4 sets of these.

Next I sewed the small squares together.  Then I added the corner rectangles to them.

Now all the sections were sewn, so I assembled them into a nine patch.  Really easy.
And there you go!

If you're wondering why it's still in 3 pieces, it's because that's how I'm going to quilt it.  I managed to get it layered and spray basted yesterday.  Maybe I'll get started on the quilting today.

May all your days be pieceful.


Friday, December 13, 2013

Real Civil War Women


Over the last 150 years, there have been at least 60,000 books written about the American Civil War.  Some of them are very good, some are terrible, most are somewhere in between.  This is one of the good ones.
Its title is Wisconsin Women in the War between the States, and it was first published in 1911.  A facsimile edition was issued this year by the Wisconsin Historical Society Press.  The author was Ethel Alice Hurn, a female graduate student at the University of Wisconsin (Madison) at the time.  It is well organized, well written, and relies for the most part on primary sources, including interviews with surviving women who participated in the war effort.
Southern women tend to get all the glory, and it's really no wonder.  Their states and even their homes were invaded and their lives were changed dramatically.  Even during the war itself, Northern women were often criticized in the press for not being as patriotic as their sisters in the South.  Their efforts have been consistently under reported and underrated. 
Ms. Hurn sets the record straight, at least for Wisconsin women, who contributed by sending supplies, caring for wounded soldiers in hospitals North and South, raising funds to help soldiers' families, and even setting up the Milwaukee Soldiers Home after the war.
The lady on the cover is Jane (or Janet) Jennings, from Green County, who served as a nurse.

Naturally, I was most interested in the quilts sent by the ladies for the soldiers.  In October 1861, the women of Berlin sent 32 quilts and blankets to a cavalry regiment stationed at Ripon.  And the Milwaukee Telegraph reported in 1884 on a quilt found in Bentonville, Georgia that had been sent from the women of Green Bay to the army in 1864.  Most of the quilt was worn out, but there were still signatures and verses visible.  Here's one verse:

'Twas made for brave boys, who went from the West;
And swiftly the fair fingers flew,
While each stitch, as it went to its place in the quilt,
Was a smothered "God bless you, boys," too.

(By the way, Wisconsin was considered part of the West in those days.)  All of us who have made quilts for soldiers can relate to this message.  I wish there was a picture!

To my mind, the best stories from history are the true ones, because they show how real people lived.  I checked this book out of the Germantown library.  If you want to read it, just ask at your library, or you can order it from the Wisconsin Historical Society. 

And since I dragged these old quilts out as backgrounds for the book, I thought you might like to see them in their entirety.
 
This old girl is from New Hampshire, and came to me from Ebay.  I love all the wonderful print fabrics.

The edge is pretty cool, too--side triangles of different scraps fill in between the blocks.  There are two alternating pieced blocks in the quilt--nine patch and a square in a square variation.  About that binding--it's a repair, probably done during the 1970s.  The fabric doesn't go AT ALL.  Every now and then I think about replacing it.  (Then I lie down, and the feeling goes away.)

The second quilt combines pink, yellow, red, and green in the pieced blocks.  Who would do that today?  I bought this one in an antique store in Indiana.  The indigo flying geese border is what caught my attention first.  It's hard to tell from this picture, but the triangles are a blue/white print.

The red fabric has deteriorated badly, but the rest of the fabrics have held up pretty well.

The main thing that is holding this quilt together is the wonderful quilting--thousands and thousands of tiny hand stitches.  I just could not leave it there, it had to come home with me.

Judging from the fabrics, both of these quilts were probably made before the Civil War, and may have been in use then in their homes in the North.  Neither was kept aside for best, as you can tell from the wear.  Touching them touches the history of our country, and especially the history of real women.


Monday, June 10, 2013

Arlington

It's finished!  This is the quilt-as-you-go quilt I've been working on.  I finished sewing the binding down by hand last night, and washed and dried it.
All the little pieced blocks were made from my scrap bins, the 2.5 in. and 1.5 in. ones in particular.  Because I have had so many Civil War and pre-Civil War reproduction fabrics in other quilts, I was able to use the scraps from them in this one.
I really should thank Judie Rothermel for all the great prints!  I collected them for years.  I can't remember where the yellow print came from, but I bought it in the last couple of years.  The brown sashing, red cornerstones and border, and the brown/cream print backing all came from J. J. Stitches this year, on sale for $5.00 per yard. (!)
I like to add a little of this Millennium fabric whenever I make a reproduction quilt.  It's like a little clue for future quilt lovers as to the date.  I'm pretty sure this one wouldn't be mistaken for an old quilt, though.
The binding is one of Judie Rothermel's prints, too.  I like a narrow striped binding on a reproduction quilt.
I quilted a big swag in the border, to mimic the swags in curtains and other home furnishings from this time period.  Plus it was dead easy to do.

I named this quilt Arlington.  It came to me when I was sewing down the binding.
Sometime in the early 1990s, we took a family trip to Washington, D.C.  We did all the usual tourist things, of course--the Smithsonian museums, Mt. Vernon, even a trip to a theme park in Williamsburg, VA.  One afternoon we went to Arlington.
Before it was the National Cemetery, it was a home.  Arlington House, which still stands, was built by George Washington Parke Custis (sometimes called G.W.).  When Martha Washington married George, she was a widow with two children.  G.W.'s father was Martha's son Jack.  When Jack died young, George and Martha Washington adopted G.W. and his sister Nelly and raised them.
G.W. and his wife had only one child who lived to grow up; their daughter, Mary.  Mary married a dashing young army engineer named Robert E. Lee.  Six of the seven Lee children were born at Arlington.  They spent many summers there with their grandparents.
A few years before the Civil War, G.W. died.  The Lees stayed at Arlington while Col. Lee settled the estate.  They were here when Lee wrote to President Lincoln, refusing his offer to lead the Union armies and resigning his commission.
As the shooting war began, Col. Lee and his sons left to join Virginia troops.  The women stayed on for a time, but eventually left as well.  None of them ever returned to live there.
United States troops took over Arlington.  Eventually they were commanded by Gen. Montgomery Meigs.  He started having troops buried there, as a way to punish Lee for his disloyalty.  This was the start of the National Cemetery.
The house itself is imposing on the outside, and beautiful but more homey on the inside.  The Custis and Lee families were by all accounts close and happy. 
The beautiful cotton fabrics made in the antebellum years, which my quilt imitates, and historic Arlington house have more in common than just the time period in which they were made.  Both came about because of slavery.  Slaves planted, cultivated, and picked the cotton on Deep South plantations, which was sold to the Northern mills to be woven and printed.  Arlington was not just a house, but a plantation itself (although not of cotton).  The leisure of the owners was bought by the work of generations of slaves.
And this is the triumph of all those soldiers, buried beneath the white tombstones in their ordered rows.  The men and boys that fought for the North in the Civil War not only saved the Union.  They ended forever the institution of American slavery.
When I touch this quilt, I will remember that visit to Arlington.  I will remember the sunshine coming in through the windows of the house, the lovely period interiors, the hoop skirts of the interpreters, the amazing view across the Potomac. 
I will also remember the sacrifice of those soldiers, who died so the nation might live, and whose victory meant freedom for thousands then, and millions yet unborn.
Union Soldiers at Arlington House during the Civil War

Friday, April 12, 2013

Quilt As You Go--My Way

I have to do everything my own way.  I can follow directions, but I don't always want to.  My grandmother used to say I was as independent as a hog on ice.  I don't think she meant that as a compliment.
In 1985, I took my first quilting class.  I had been bumbling along for 9 years on my own, and I really needed some instruction.  Plus I had three little kids underfoot all day.  I couldn't wait to get out of the house by myself.
 This is the kind of quilt we learned to make in that class.  (The colors look weird now, don't they?)  We made sampler blocks from all different patterns, but in the same size, so we could learn how to piece and applique.  All of the applique and almost all of the piecing was done by hand.   We made cardboard or plastic templates, traced around them, cut the pieces out, and hand sewed them together.  Our teacher reluctantly showed us how to piece by machine for some of the simpler blocks, after we had learned to piece by hand. She did show us this new thing called a rotary cutter for cutting the sashes and borders.
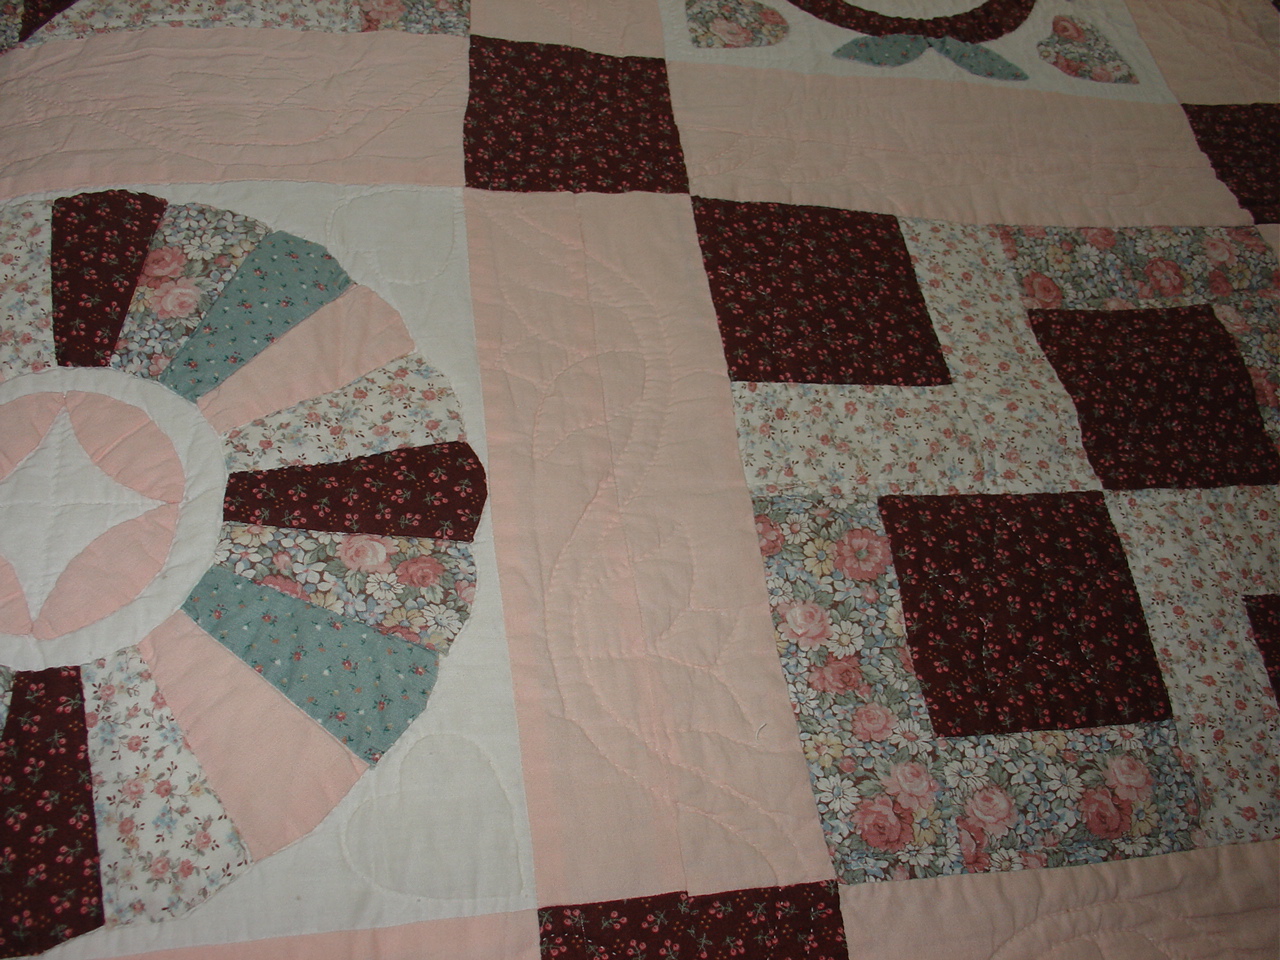
 Do you see the double sashings?  Each block had sashings and cornerstones around them.  If you see these on a quilt, you can pretty much figure it's a quilt as you go quilt from this time period.
After we finished making each block, we were supposed to layer it with backing and batting, and quilt it by hand.  It was kind of like homework.  I bought a little miniature frame from an ad in Quilters Newsletter, meant just for doing this.  It had stretcher bars with cloth stapled to them, just like a big frame.  I set it on the counter in my kitchen, and quilted while I cooked supper.  I enjoyed it, but I did get behind (did I mention the 3 little kids?)  By the time I had finished all the blocks, the class was over.
If you've ever done quilt as you go, you know the fun part is making and quilting the blocks.  Eventually, you have to set everything together.  We did it just the way Georgia Bonesteel showed on TV and in her books:  we sewed the blocks together on the front, whipstitched the batting  pieces together by hand, and sewed the backing seam by hand.  It was, well, tedious.  And my hand stitches were nothing to write home about.  You might be able to see these toe-catchers in the picture below.
 I had no idea what to do about the borders.  I knew I wanted some, and I had cut them when I first started the class (or rather, the teacher had cut them for me).  I searched through books (no internet then) and asked people, and eventually put them on.  I finished the quilting on a big floor frame.  The quilt wasn't done until 1989.
And like a lot of quilters from that time, I decided that was the end of quilt as you go for me.  If I was going to have to end up on a frame anyway, I might as well not have all that hand work on the back.

Well, time passed (a LOT of it).  I hand quilted a few more quilts, and pieced a lot of tops and blocks.  I started machine quilting them with a walking foot on my sewing machine.  I wished I could quilt like Harriet Hargrave, but that was beyond my skills.
I made traditional quilts, sometimes from old blocks, and I wanted to quilt them the way they would have been quilted by hand, with lots of quilting.  I liked the look of outline quilting, done 1/4 in. from the seams, but this was next to impossible with the walking foot without constantly turning the quilt.
So I came back to quilt as you go, to see if I could make it work for me.
Instead of quilting each block separately, I tried breaking the quilts into sections.
 I made this fan quilt in three sections.  It was much easier to turn the quilt to echo the curve of the fan.  When the quilting was finished, I joined the sections with machine seams on the front and hand seams on the back.  Only two seams, the width of the quilt.
I didn't have to do any handwork to attach the borders, which was good.  I layered the border (right side down), the quilt (right side up) and the border backing (right side up) and sewed the whole seam at once.  It worked, but I still had a problem.  The scissors are pointing at the border seam, which is lumpy and obvious on the back. 
 I tried making this quilt in two sections, which meant I had only one seam to do by hand on the back. (Below)  This was okay, but the large pieces were very bulky for quilting.  On this quilt, I attached the borders to the sections, quilted the sections, and then sewed the sections together.  So no bulky border seam.
 The star quilt and the tulip quilt were done in 3 sections, with borders added after the sections were joined.  This works, but again I had bulky border seams.


I felt like I was on the right track.  Quilting the sections went smoothly.  I even enjoyed it.  But I still hated adding the borders.
 For this quilt, finished last fall, I went back to adding the borders to the sections.  This is my President Obama quilt, the first political quilt I have ever made.  There are 5 rows of stars.  The top section was two rows, plus the borders, the middle section was one row, plus borders on the sides, and the bottom section was two rows plus the borders.
 Above, you can see the printed Obama border, plus the star border.  Both were added to this section before it was quilted.

 When you break up the sections this way, you have seams in the borders where the sections come together.  I quilted the borders after I joined the sections together, which helps to make the seam a little less obvious.
 This is the bottom left corner of the quilt.  I quilted the crossways borders when I quilted the section, and the lengthwise borders when all the sections were joined.
 Here is one of the two hand sewn seams on the back.

This is now my favorite way to do quilt as you go.  I have tried a couple of other ways that promise no hand work, but have not been as satisfied with them.  I don't mind doing this amount of hand work.  I just lay the quilt out on the kitchen table and sew.

Here's the new quilt on my Pick Six list, and the reason why I wrote all this long-winded stuff about quilt as you go.


 I started to make this quilt from the wonderful book below, Simple Comforts by Kim Diehl, which I bought at the Sun Prairie quilt show a couple of years ago.  (I can't give you the pattern, but I would recommend the book.)

  After making 50 of the little blocks, I decided not to follow the pattern in the book, but to do something different with them.  So I made 50 more.  (They were fun to make, and all the pieces came from my scrap drawers.  Most are Civil War reproductions.)  I set them into 20 large blocks with the yellow print.  Then I made the same kind of sections I made for my Obama quilt--two rows plus the borders at top and bottom, and one row plus side borders in the center. 


This is how I will quilt them.  I'll layer them up with batting and backing either tonight or Sunday, and get started.  I'm planning to take pictures along the way.
So do you quilt as you go?  If so, what's your way?