Saturday, December 5, 2020

On the Border

 Welcome to Treadlestitches!  It's a frosty morning here for the first Saturday in December.  No snow yet, and I'm not complaining.  I'm sure we'll get our share this winter, as usual.

We've had a busy week with the grand kids, so not much sewing happened, but I did get the borders on my quilt-as-you-go Shoofly quilt, which was one of my Rainbow Scrap Challenge quilts for 2020.

I chose a red print from my stash for the border (locally sourced, as Preeti says!), and a stencil from my collection for the quilting.  The stencils hang in my sewing room closet as above.

I'm going to use this swag, so I measured the stencil and cut the border to be just a little larger.

The center of my quilt is already quilted.  This is how I add borders to it.

First, I add a border itself.  I position it right sides down on the right side of the quilt, pin, and stitch.  It might help to think "sew and flip" here.

Next I create a strip of backing to add underneath the border.  It needs to be wider than the border.  Because I use basting spray, which holds fairly tightly (it's glue, after all), I don't need the backing strip to be a LOT wider.  In this case, the border was cut 5.5 in. wide and the border backing was cut 6 in. wide.

I flip the quilt over, position the backing strip right sides together with the quilt backing, pin, and stitch.  I press this seam also.

Now I have a border and its backing, both sewn by machine to the quilt.  I need batting to go between these two layers.  I cut a long strip of batting slightly narrower than I cut the border.  In this case, the border was cut 5.5 in. wide, so I cut the batting 5  in. wide.  Today I used my ruler and a pen to mark the batting and cut it with scissors.  (I cut the ink line away so no ink gets into the quilt.)  Sometimes I cut the batting with a rotary cutter I use only for batting.  (Fun fact--because I use 100% cotton batting, I can press it with the iron if it's wrinkly.)

Now to add the batting to the border.  I pull back the top, and lay the batting strip down on the backing.  I butt the top edge of the batting strip against the seam.  I want to keep the bulk of the batting out of the seam so it lays nice and flat.  (It doesn't need to be held in the seam--the quilting will keep the batting in place.)  I spray baste the batting to the backing first, and then to the border.

Voila!  The border is ready to quilt.  Of course, this has to be done on all four sides.

Like this!  Because both the border and the border backing were sewn on by machine, there is no hand sewing to do here.  In fact, the only hand sewing on this quilt is the two seams joining the three sections, which I already did.  I'll be adding the binding by machine, when I get there.

But first, it's time to mark the swags and quilt!

Meanwhile, my leaders and enders are coming along.

And Baby Buddy is nine months old today!  (Please excuse the poor quality photo.  Sunlight was just pouring in yesterday.)

How are you doing in this very strange time?  We are hanging in there.  The holidays will be different this year, but we will manage.  I'm going to plan a big party for this summer, when we're all vaccinated, with lots of hugging.  LOTS OF HUGGING!!!  Can't wait!

Have a good week, and thanks for reading!

Cheers,

Sylvia@Treadlestitches

Linking up with:
Angela at So Scrappy
Cynthia at Oh Scrap


Saturday, November 28, 2020

Leftovers

 Welcome to Treadlestitches!  Are you still working on the Thanksgiving leftovers?  We definitely are.  I have also been working on some quilt leftovers.

These pieces were left over from making Bonnie Hunter's Celtic Solstice pattern, her mystery quilt for 2013.  (Yes, seven years ago.)  I found them when I was cleaning out my basement stash, and was trying to decide what to do with them.

There's a reason they were leftovers.  Most of them are Not Made Well.  There was nothing wrong with Bonnie's instructions, my sloppy sewing and cutting are solely to blame.  In a vain attempt to match points, I distorted their shapes.  Quite a few of them have one half of the little square longer than the other half.  I remember being in despair about these sections, before I just decided to replace them with an unpieced square and get on with life.

Faced with this bag of failure, I was ready to toss it out, but decided to take one more look.  Some of the pieces were actually okay.  I could arrange them to make a star.

Or I could make this block.  And I could put in a blue square for the center.  Green and yellow are okay (Go Packers!) but I liked it better with another color added in.


Arranging it this way, I can have my stars, too.

The pieced sashing between the two blocks gives this effect.  Kind of like hidden stars.

Piecing the sashing between the rows makes it look like this.  I used two of the exact same units as the sashing between the blocks, with another blue square between the units.  (In this photo, count up 4 squares (not blocks) from the bottom to find the sashing row.)

I kept going until I finished the top for this table runner.  I have a long dining room table, with leaves that fold down, so this size fits well.  When I get it quilted, I can use it during non-holiday times of the year.  The best of those old leftovers have found a new home, and I can with a good conscience get rid of the rest.

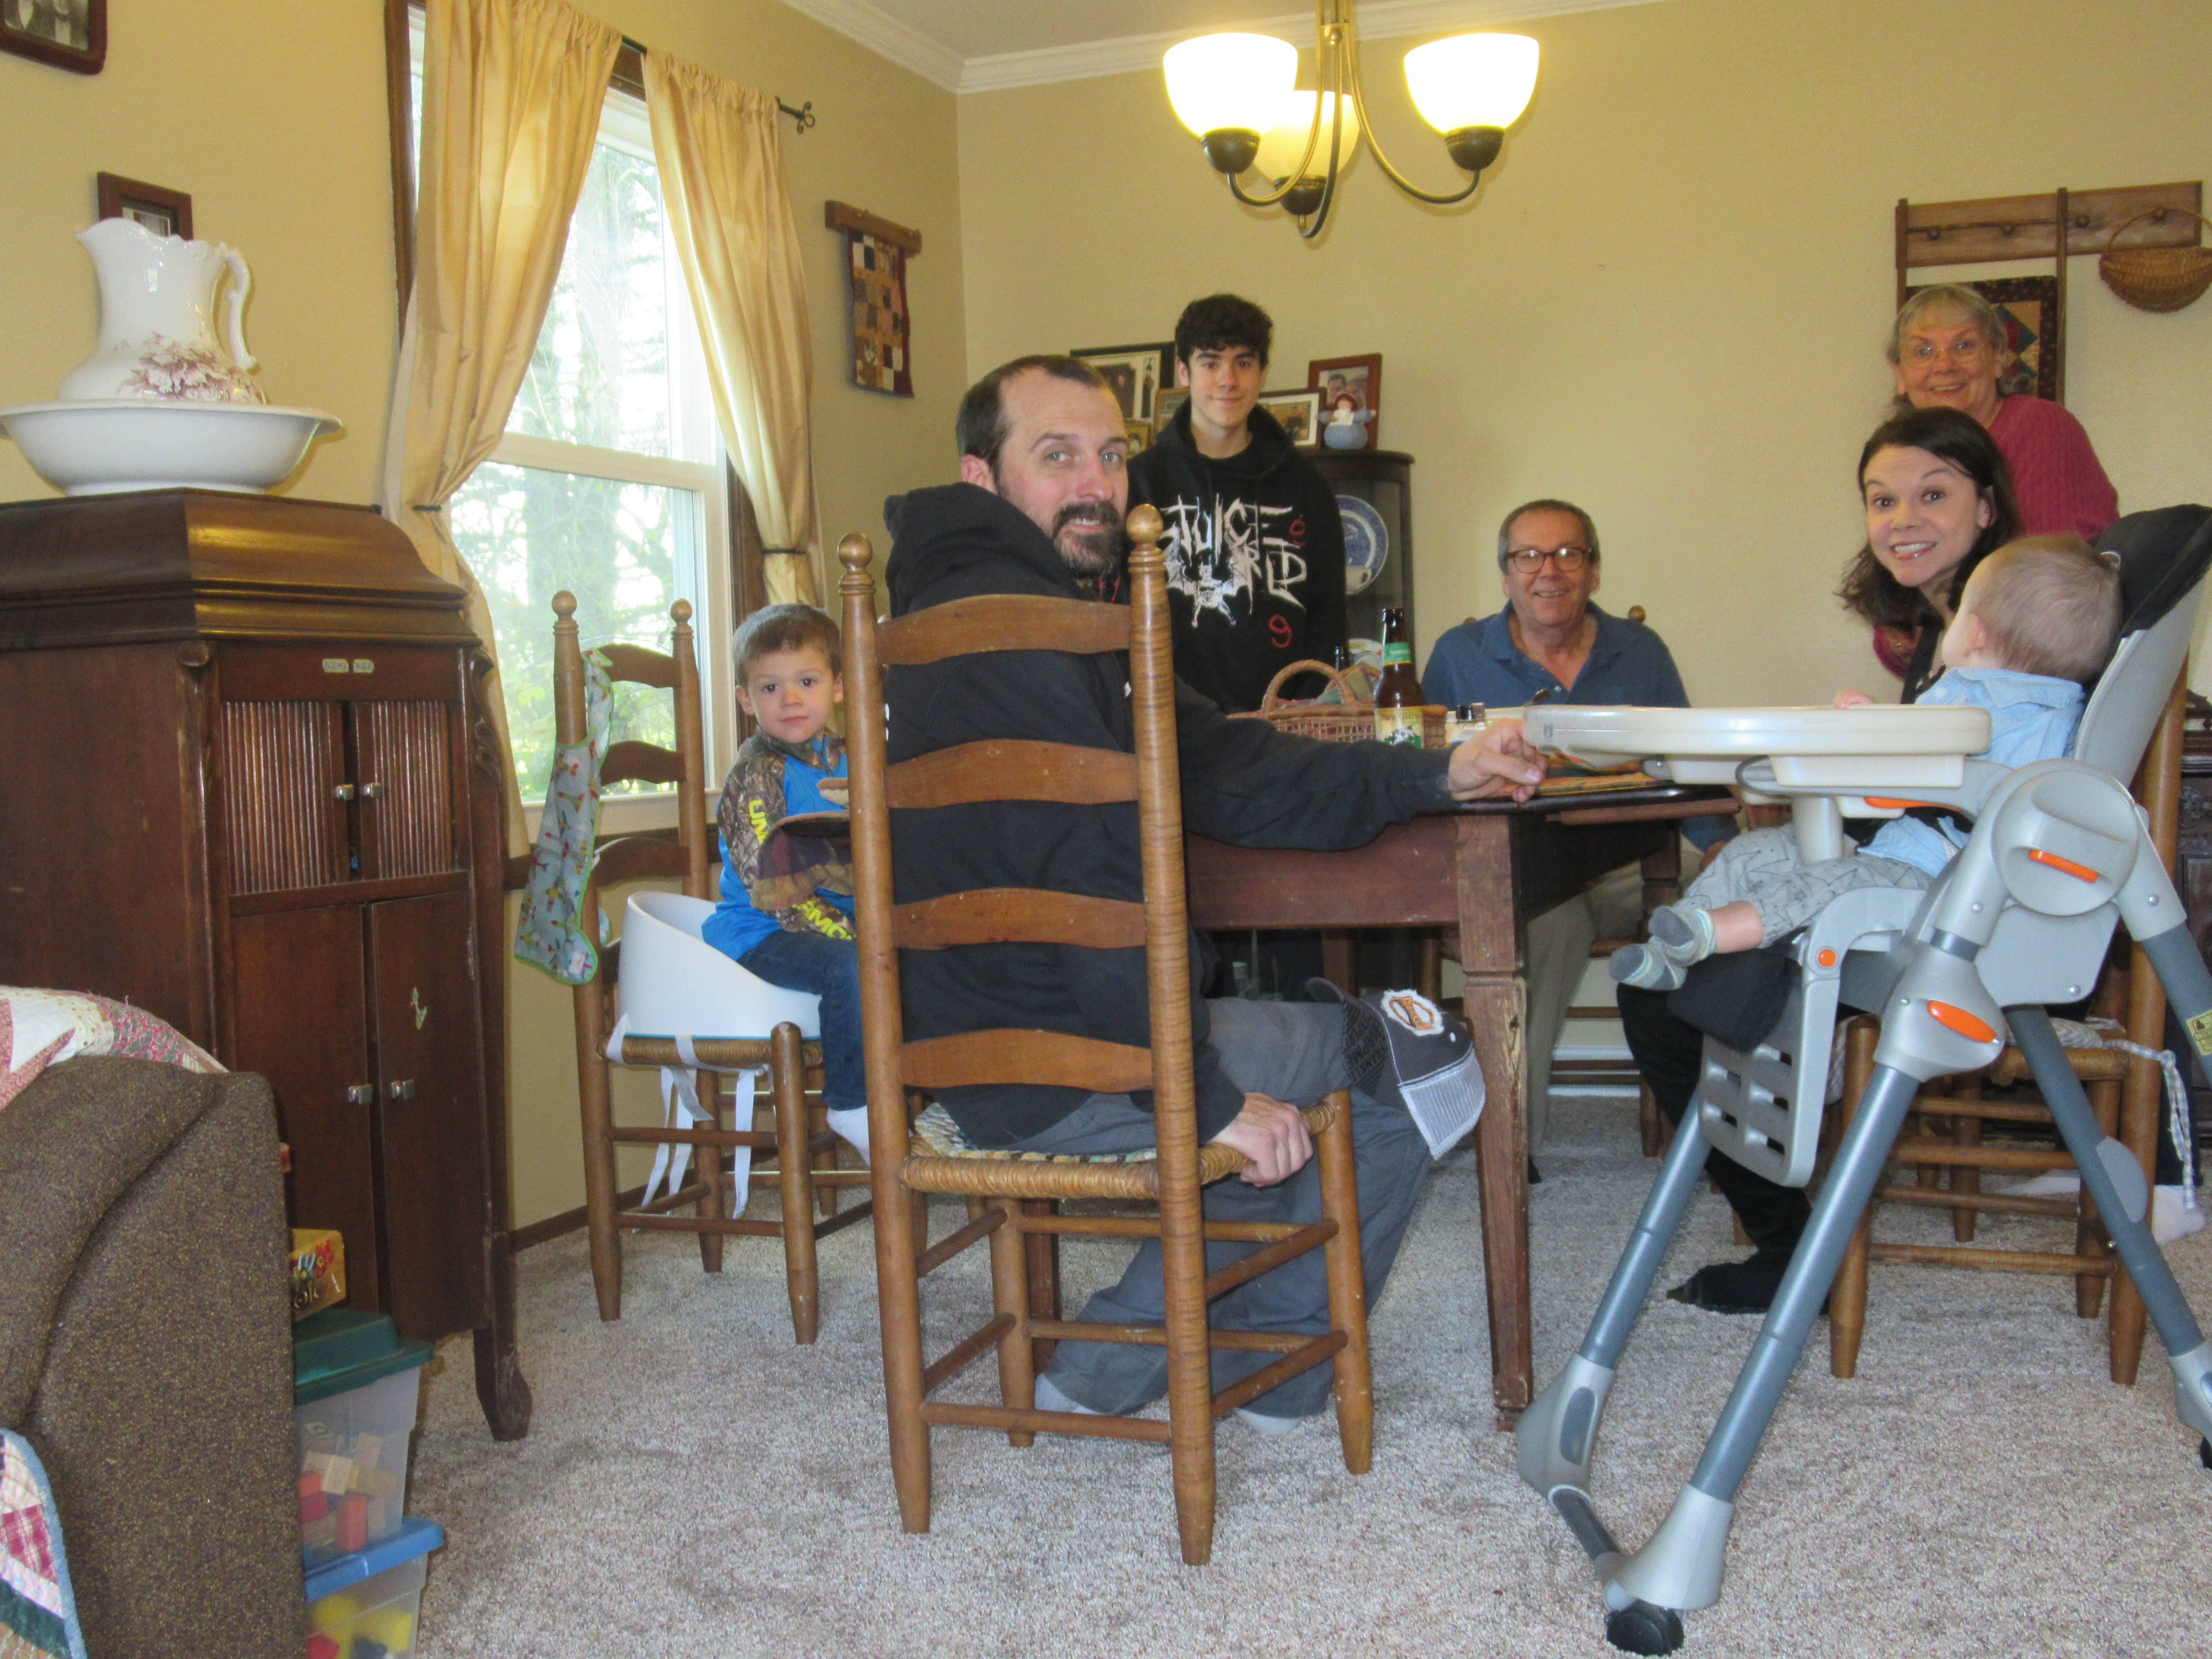
Here's a casual shot of our Thanksgiving this year.  We were a small crew in person, larger if you count in family on Zoom.  Baby Buddy couldn't get the idea of looking at the camera.

Do you make scrap pies?  Leftover crust and pumpkin or cherry filling get baked in a smaller dish so as not to waste any yummy pie.  These always seem to get eaten first!

In other news, the Shoofly quilt sections are quilted, and sewn together.

Last night I was working on sewing down the backing seams by hand.  Making the quilt in sections makes it possible for me to quilt it easily on my domestic machine, but it does mean I have to do a little hand sewing to make it work.  That's okay with me!

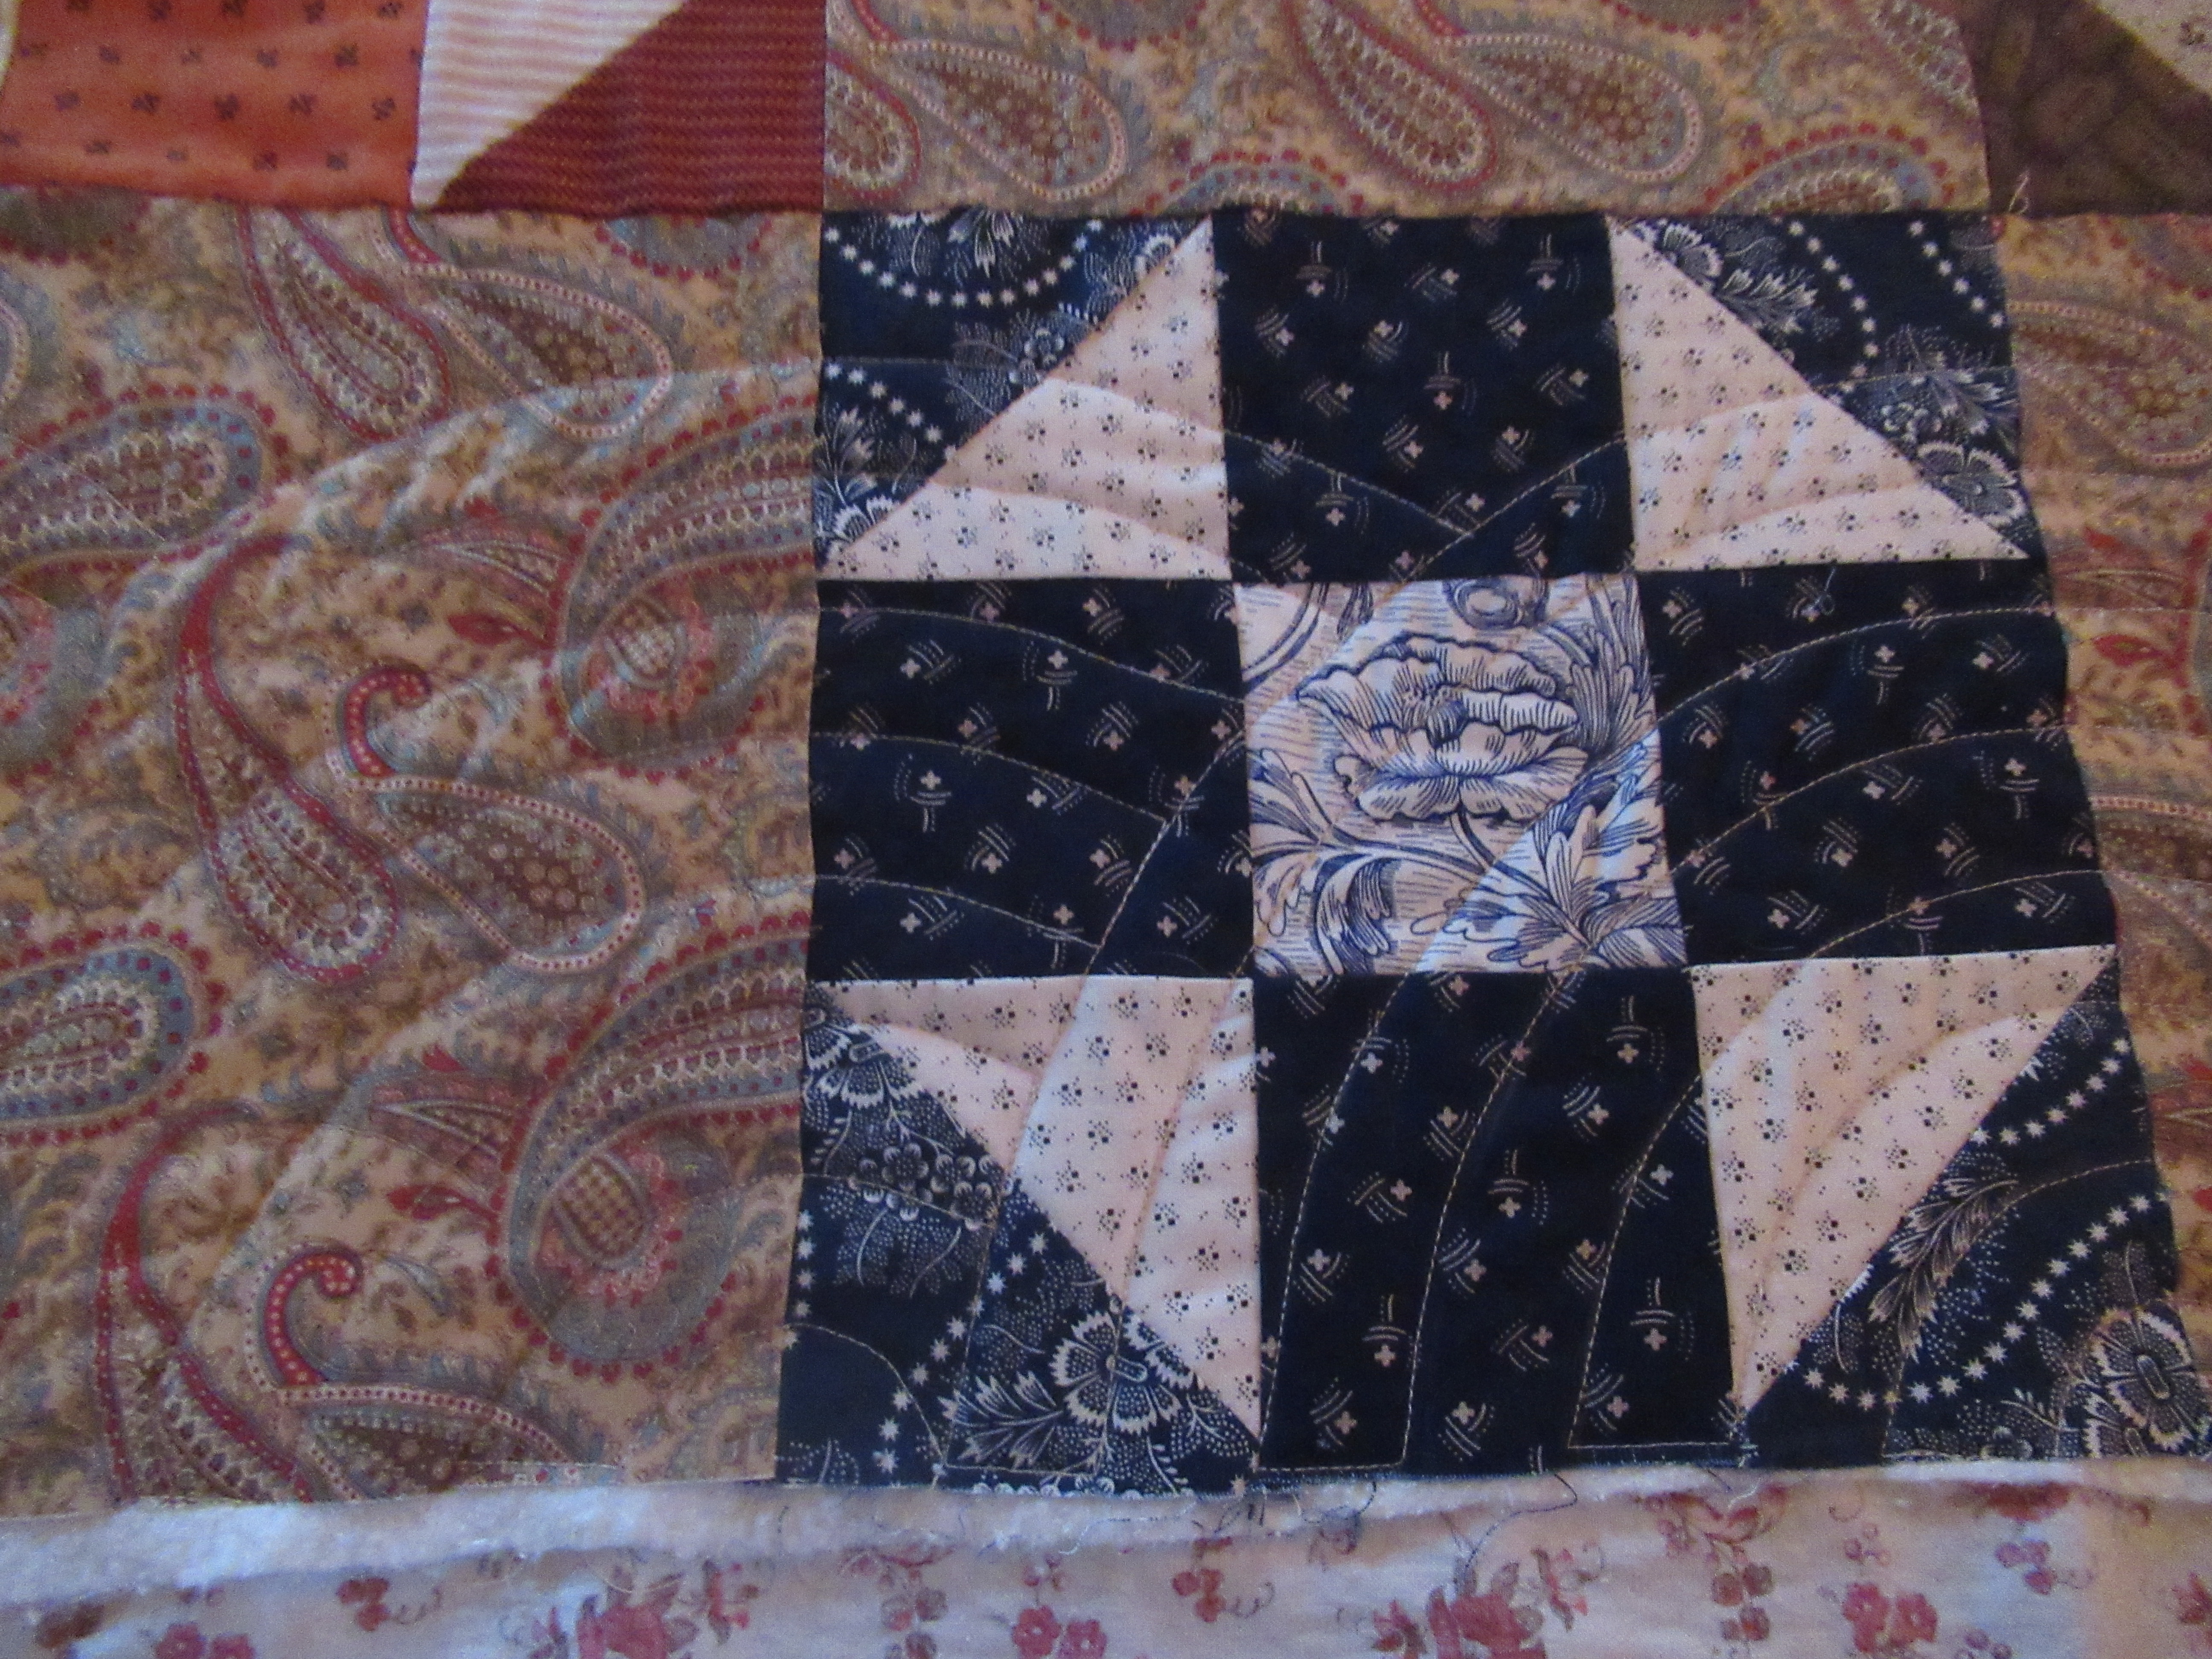
On the front, you can't tell it wasn't made in one piece.  In the photo above, the row with the purple and dark blue block is from section one, and the row with the pink block is from section two.

At the top and bottom of the quilt, there is extra batting and backing, just waiting for the next step--borders!  

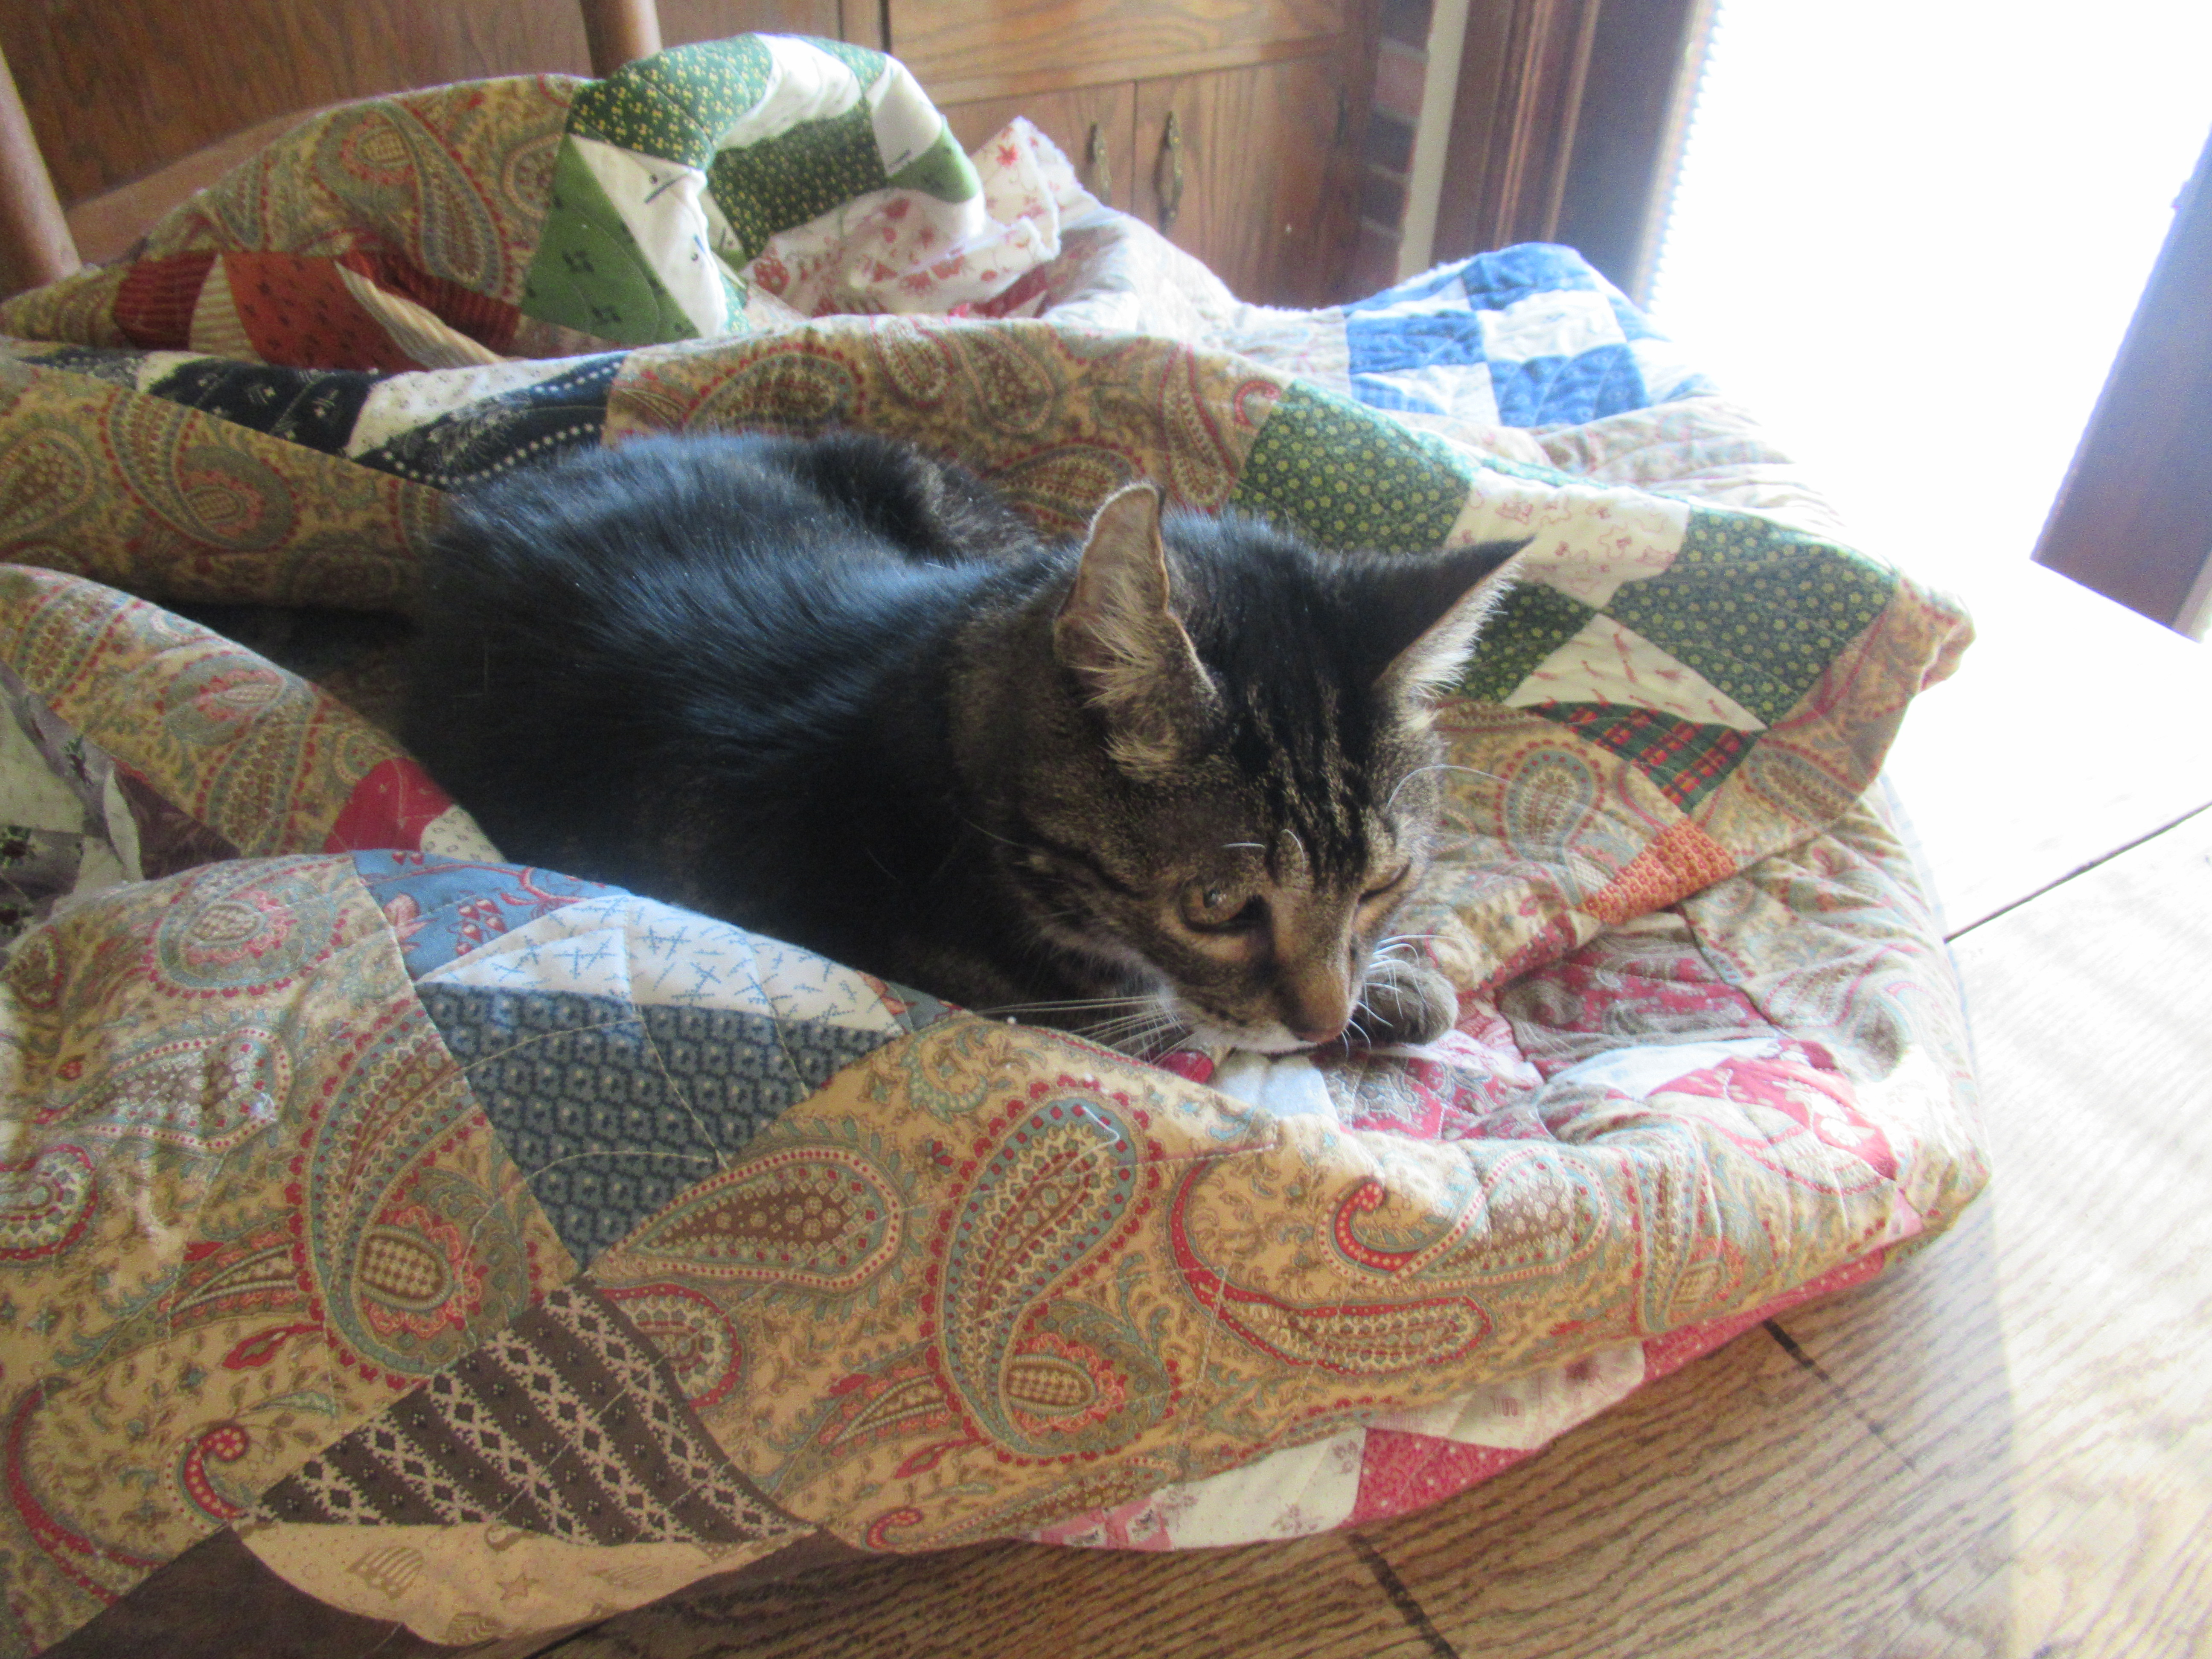
Mr. Biddy thinks it's cozy just as it is.

I hope you're having a cozy weekend, doing whatever you love to do best.  Thanks for reading!

Cheers,

Sylvia@Treadlestitches

Linking up with:
Angela at So Scrappy
Cynthia at Oh Scrap 


Saturday, November 21, 2020

More Fan Quilting

 Welcome to Treadlestitches!

We have had a lovely fall here in Wisconsin, with some unexpected warm days even in November.  No snow yet, or at least no accumulation, which is good news for my husband as he finishes the leaf raking.  We're getting used to freezing temps at night, and frost on the grass in the morning.

Does anybody else remember when these little round dolls were trendy?  I bought this Pilgrim pair at a craft fair, probably in the 1990s.  They seem a little silly now, but they're a cheerful part of our Thanksgiving holiday..

Last week, I showed how I'm using this template (above) to quilt a Baptist fan pattern on my Shoofly quilt, one of my Rainbow Scrap Challenge quilts for this year.  Today, in response to a reader question, I'm going to show how I position the template.

 Traditionally, these fan designs, which mostly date from the mid to late 1800s, are marked on the quilt top completely ignoring the piecing.  It can be difficult to decide where to mark.  In the old days, the ladies often marked as they quilted, which can lead to some dead ends and strange arcs.  (The photo above is from an excellent article about the history of fan quilting.  Click HERE to read it.)

I needed a more organized approach, so here's what I came up with. 

The template is 8.5 in. square, with lines drawn for the quarter inch seam allowance on the sides.  My blocks finish at 9 in. square. 
Step #1:  On the first block of the row, I positioned the template on the right, with the template's seam allowance line lined up on the seam line between this block and the block below it.  I marked this, and quilted it.

Step #2:  Next, I lined up the template's center line with the seam allowance between the first block in the row and the second (the paisley square).  I marked those lines.  The lines on the right of the line only needed to be marked until they touched the quilting already done on the first block.

Before I could go to the machine, I needed to finish marking the paisley square.  To do that, I positioned the template with the bottom line on the seam line, and connected these new markings to the ones I had just done. Time to quilt!

Here's what it looks like quilted.  As I go down the row, I just keep repeating step #2.  I only do step #1 with the first block in each row.

There is a slight gap in the quilting between one row and the next.  I may fill in with arcs later, but it's only about 1.5 in. at the widest, so I may just leave it.

 I knew when I started that I wanted to try to line up the quilting with the piecing.  That's what made all the problems with the marking, because the lines had to show up on light, dark, and medium fabrics.  Another way to do fan quilting would be to mark it on the BACK of the quilt, which would make marking much easier, since you would usually only have one backing fabric to contend with.  But then you'd have to think of another way to anchor your lines.  (Maybe a striped backing?  Or basting lines? Hmm...)

Two of the three sections are quilted, and I hope to finish the last one today.  Then I'll be joining them together, and adding borders.

I am not letting this messy little boy anywhere near my quilts!  Little Buddy loves blueberries (can you tell?).  He had a day off from preschool this week, and we made blueberry pancakes for lunch.  There were plenty of berries left over for eating and apparently for squishing.  (You should have seen his hands!)  It's a good thing kids are washable.

Happy Thanksgiving this week to all who celebrate.  It will be different for us this year, and strange to not have the whole family here, but we will manage.  The health and safety of each one of us is important enough to do whatever we can to help.  I'm looking forward to next year, when we can put the virus behind us.

Stay safe, and thanks for reading.

Cheers,

Sylvia@Treadlestitches
 
Linking up with:
Angela at So Scrappy  
Cynthia at Oh Scrap


Saturday, November 14, 2020

Adventures in Fan Quilting

 Welcome to Treadlestitches!

This week, I tried to learn something new.

It's actually something old--fan quilting.  We mostly call it Baptist Fan now, but that term is relatively recent.  In the late 1800s, when the quilt above was probably made, they may have just called it fan quilting or shell quilting.  (Click HERE for a great article on fan quilting.)

Many years ago, I made a Churn Dash quilt and hand quilted the fans.  I used a string and a piece of chalk to mark the arcs just like they did the in old days, which sometimes turned out okay and sometimes was a mess.

This is the finished quilt.  I think it should be have been more closely quilted.

I have a friend who is very good at doing fan quilting, free-hand, on her long arm machine.  She quilted this star quilt for me.

I've often wondered if I could do this kind of quilting on my domestic machine.  I don't do free motion quilting (yet?), but it seemed like these would be easy curves I could sew with Mrs. Pfaff's built-in walking foot.

So I bought this template.

It's called Around the Block, by June Tailor.  It's a hard plastic template, which should hold up well, and I liked all the lines for positioning it.  I decided to try it on my Shoofly quilt, one of my Rainbow Scrap Challenge quilts for this year.  The blocks were already set with paisley squares, and divided into 3 sections of 3 rows each, spray basted to the batting and backing.

I was ready to get started, but I had one BIG problem.  If you use a template, you have to mark the quilt.  I dug out all my marking tools.

The chalk pounce worked fine, but the marks wore off as I was quilting.  The template's channels were too narrow and deep for my marking pencils.  Or chalk markers.  Or soap slivers.   They were obviously designed for those special quilt marking pens or markers.

I needed the marks to be visible on dark fabrics, light fabrics, and the paisley squares between the blocks.  The blue marker did okay on the light fabrics, but was invisible on the dark fabrics and blended in to the paisley.

I was tearing my hair out.  Did I need two markers, one light and one dark?  What if one kind needed to be removed by washing and the other by pressing with an iron?  It would be easy to mix that up and end up with permanent marks on the quilt.  I bought several markers, and kept trying (and failing).  Until I finally tried the purple disappearing marker.

Eureka!  It works!  I haven't used these kinds of markers in a long time, just for fear the marks wouldn't come out, but desperate times call for desperate measures.  The purple is visible even on the dark fabrics, and shows up very well on the paisley.  And so far, the purple is disappearing nicely after the quilting is done.  I will be sure to wash the quilt as soon as I get it finished.

Once I solved the marking problem, the quilting was actually easy.   One section is done, and I'm working on the second section.

Here's what it looks like on the back.

So that's what I'll be doing this weekend.

I dug out another of my home made kits to use as leaders and enders while I'm setting the Text Me A Quilt blocks into rows.  It's a double 4 patch, made from mostly reproduction 1800s scraps.  Once I get the small squares into 4 patches, I have to choose a pair of large squares to go with them to finish the block.  I found myself singing the Matchmaker song from Fiddler on the Roof as I did this.   (Matchmaker, matchmaker, make me a match ...!)  When I was a teenager, my entire family performed in a local production of the musical, and it was fun to remember it.

I'm setting the 4 patches so the light fabric chains across the block.

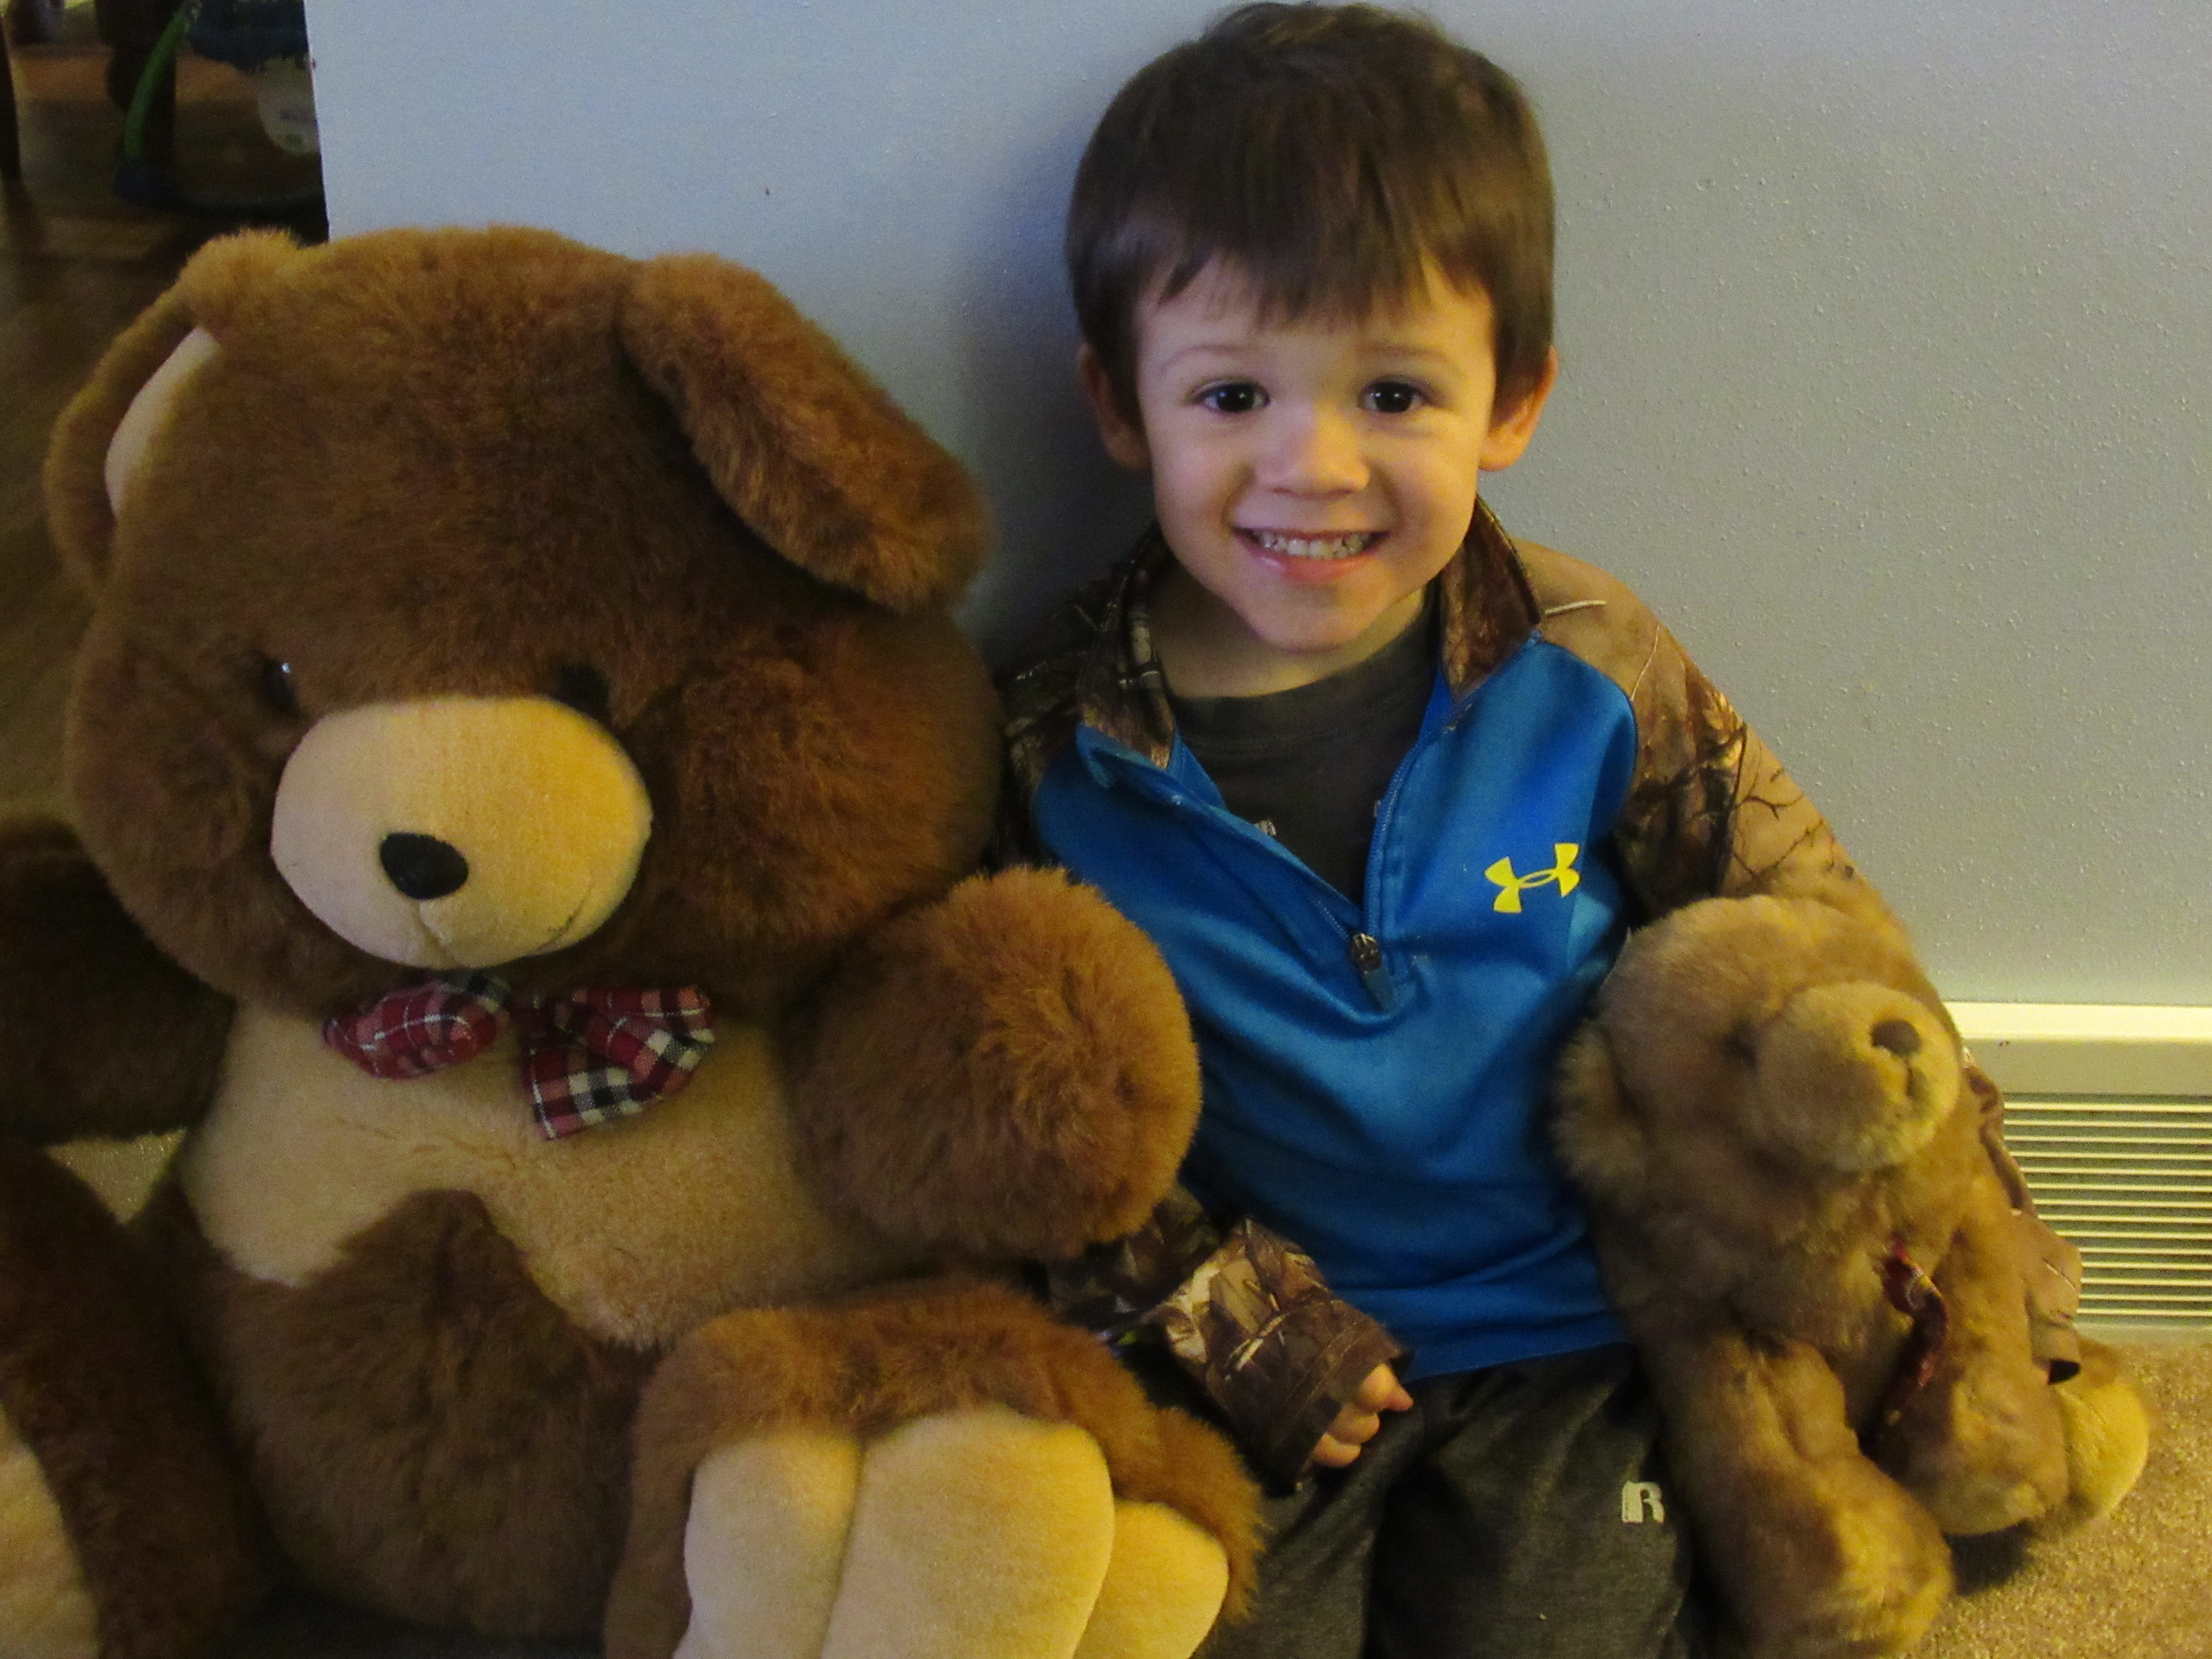
Little Buddy asked me to take his picture with his new "friends".  He's adopted these bears who have been living in our basement for years.  The little one belonged to his big brother, now a teenager, and the big one was his mother's.  He snuggles with them for his naps.

It's colder here this week.  Thank goodness we have quilts to keep us warm!  Have a lovely week, and stay safe.

Cheers for reading,

Sylvia@Treadlestitches 

Linking up with:
Angela at So Scrappy
Cynthia at Oh Scrap


Saturday, November 7, 2020

Walking on Sunshine

 Welcome to Treadlestitches!

It's a beautiful morning here, expected to get up to 73 degrees today.  It's been like this all week!  I  feel so lucky to have this kind of weather in November.  I wish we could store it up for the winter!

These little guys have been keeping me busy, so I haven't got a lot of quilting done this week.  (Don't worry--Baby Buddy has a toy remote, not a real one!)

I finished the flannel tumbler baby quilt, binding it by machine early this morning.

The quilting is VERY simple, just either side of the seams.

Unfortunately, my problems with math continue.  Somehow I had thought this little quilt would finish up at 36 in. square, just right for donation to Jack's Basket.  That's what I get for estimating without doing the calculations.  The width is 37 in., which is not that far off, but the length is 42 in. finished.  So it will have to go somewhere else.  Quilts for Kids does not take flannel quilts, because they do not hold up to the intense washing they get in the hospital.  Project Linus does accept flannel, but our local chapter has closed down, so I may find another nearby chapter and send it there.

Also from last week, I finished this little knitted hat.  After thinking about it, I decided on red ribbing (thanks, Joyful!) and wider stripes.

It looks cuter on Baby Buddy!  Although he doesn't need it yet, while this warm weather holds.

It is great to see how everyone is coming along with their Rainbow Scrap Challenge quilts.  Throughout this weird awful year, making these blocks has been a bright spot.  Now it's time to make mine into tops and get them finished.

I'm laying out the blocks for my Text Me A Quilt like this.  The pattern is from Scrap Basket Beauties, by Kim Brackett.  Ms. Brackett shows us three layouts for each of the quilts in the book, and I find that very helpful.  I think this is the way I'll sew them together.  (Math strikes again, though.  Somehow I made an extra block!)


Little Buddy helped me take down the dead plants and the tomato cages from our little garden yesterday.  I've still got a lot of work to do here, so that's on the list for the weekend.


By the way--last week I mentioned fabric I called "lizard camo".  This is what I was talking about.  From a distance it looks like regular camouphlage, but up close you can see the lizards.  I'm a little creeped out by it, but my grandson thought it was great, so it ended up in his quilt.

I am amazed and so proud that so many millions of people voted in last week's election.  Voting is part of our civic duty, and we lived up to it better this year than in the past.  Whoever you voted for, we are all in this together.

Have a good safe week, everyone!
Thanks for reading,
Sylvia@Treadlestitches 

Linking up with:
Angela at So Scrappy