So much strippy fun this week! I'm making half log cabin quilt blocks, from 1.5 in. strips. I started these as leaders and enders, but they have a way of breaking out and becoming the main project.
In the last blog post, I showed a picture of the overflowing drawer these strips usually live in. Since then, I have divided them into dark and light strips, and put them in baskets. The strips on the desk are shorter ones, to use first.
Think I'll have enough strips? When I took this picture, I had already made 75 blocks.
This is what the blocks look like. There are 5 light strips and 6 dark strips. The blocks measure 6.5 in. if you sew them perfectly. Mine are not all perfect, so I'm trimming them all to 6.25 in. to match the smallest ones.
Here's the layout I decided on--Sunshine and Shadows. There is not much seam matching in this layout, and I've always wanted to make one like this.
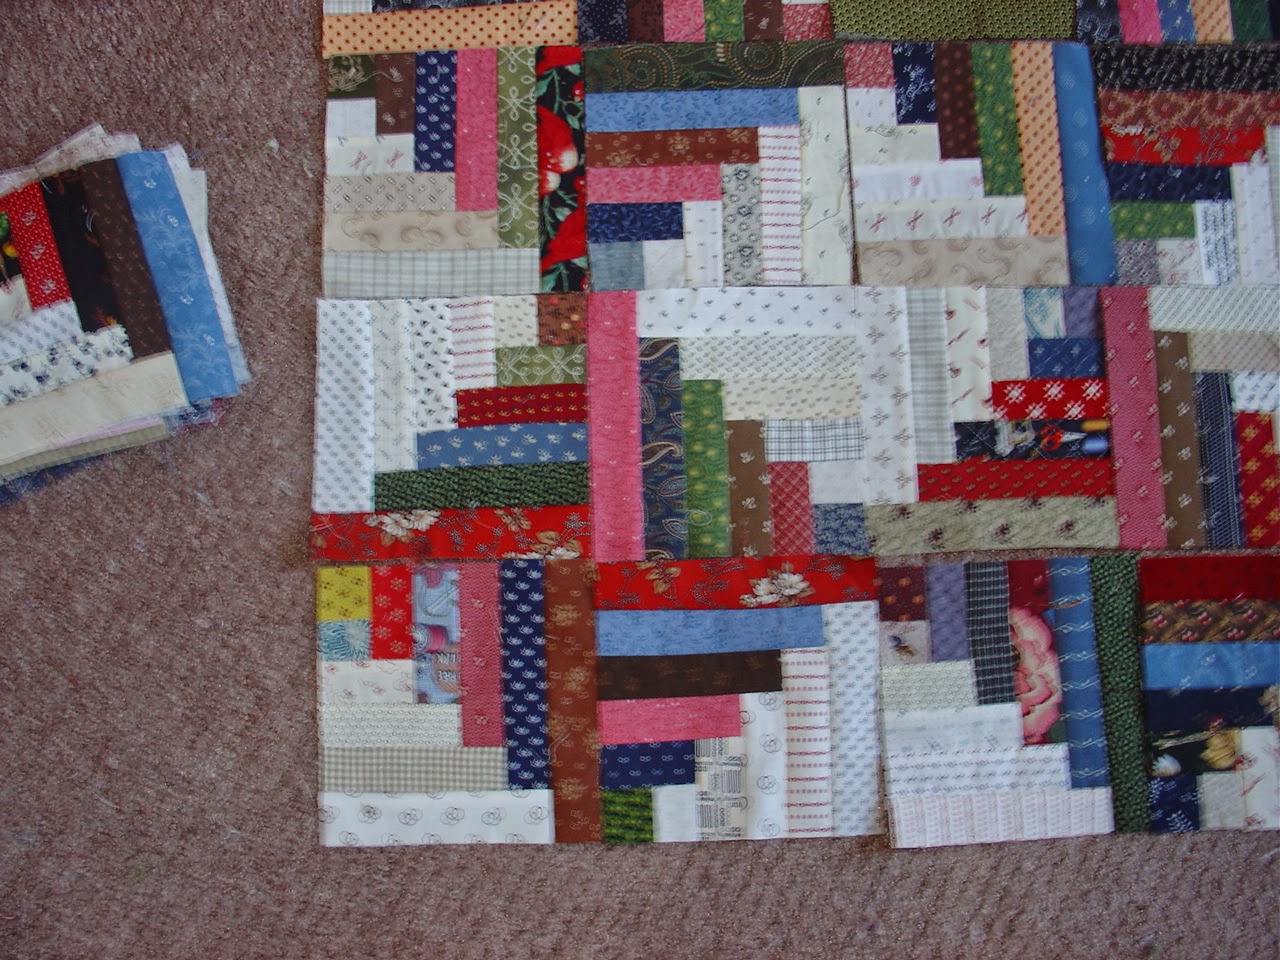
This is a closeup. I will probably move these around a lot before I finally settle on which block goes where. Just looking at this photo makes me want to switch some of them. Right now I see a lot of pink in the blocks, which kind of surprised me.
I consulted a couple of books before deciding how to sew these. My method is a lot like how I sew string blocks, and is a fun way to work if you like scraps.
Okay, here we go.
Half Log Cabin Block Tutorial
Step 1: Sew two 1.5 in squares together. One square is light, and the other is dark. Easy peasy.
You can sew strip sets if you want to have several blocks with the same centers. I didn't, so I cut squares. Press toward the darker square. Press after each addition.
Step 2: Add a dark strip to the side of this unit. Put the pieced unit face down on the dark strip, with the light square at the top, and sew. Press toward the new strip.
Trim the strip even with the pieced unit. I use (gasp) scissors and eyeball it. You could use a rotary cutter if you like. You will be doing this with each strip added from now on.
Step 3. Now add a light strip to the pieced section. Lay it out like this, put the pieced section down on top of the strip, and stitch. Press and trim.
You will be repeating these steps over and over. Be careful, and keep the seam ripper handy--it is very easy to get mixed up.
Step 4: Add another dark strip.
Here's how the block should look each time you add a dark strip. Notice where the first dark square is. (It's the one with the dots.)
Step 5: Adding a light strip. Notice where the beginning square is here? The blocks should always be in this position when adding a light strip.
Naturally, I'm chain sewing the blocks, but I like to have ten or so of them going at a time, at different stages. I don't want any of my blocks to be exactly the same, so I don't add them to the same strips of light and dark. I take the blocks to the iron after each round, and I add in new ones to replace ones I've finished.
When I trim a strip, if there is only enough left for a 1.5 in. square, I put those pieces in this little basket on the treadle cabinet. Then I can pull pieces from here to cut for the center squares. (If the trimmed piece is smaller than a 1.5 in. square, I actually throw it away!)
Here's our block, all finished. I have pressed it, and trimmed it to size.
And here's the back, with the seams all pressed toward each new strip as added.
You could just keep going, if you wanted larger blocks. I kind of like these little ones. I think I'll need at least 120 of them for a twin sized quilt.
In other news, UFO#4 is pin basted and ready to quilt. If I could just stop sewing these half log cabin blocks...
Spring is trying to break through today, and the dog and I need a walk.
Have a wonderful week!


It was very useful for me. Keep sharing such ideas in the future as well. This was actually what I was looking for, and I am glad to came here! Thanks for sharing the such information with us.
ReplyDelete