Showing posts with label Singer treadle. Show all posts

Friday, March 25, 2016

Joy of Springtime

Here is the picture postcard out my window this morning.  Not November, not January, March.  Late March.  This is springtime in Wisconsin.
Yesterday's storm coated the trees with ice, which is very pretty, but not good for the trees.  Thankfully it's melting today in the sunshine.
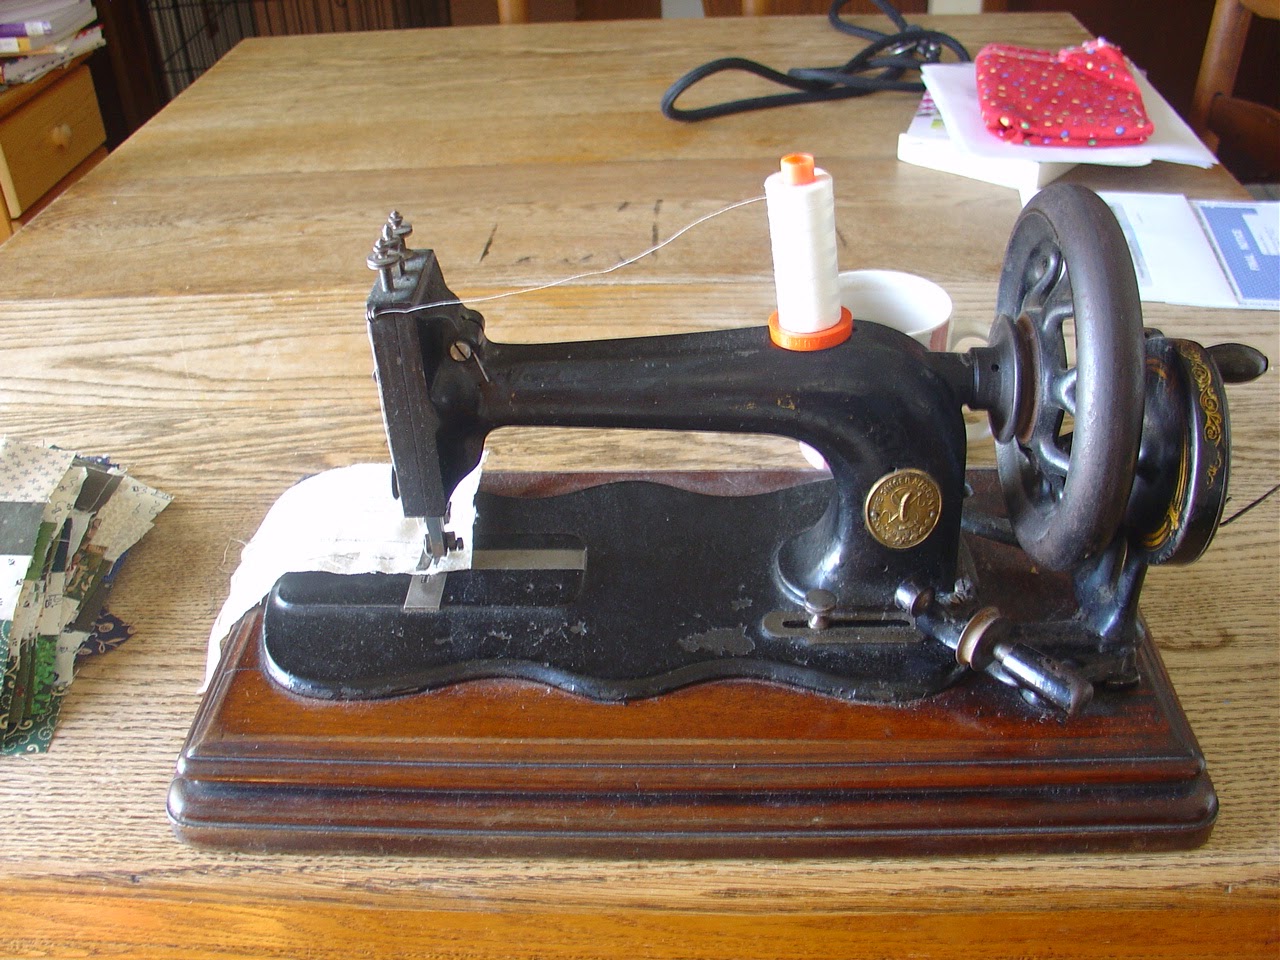
You can see the sun reflecting on my newest quilt top, which I'm calling Joy of Springtime.  It was pieced on my Singer 66 treadle sewing machine.
Here's the whole quilt, laid out on the floor.  It's a two-block quilt, consisting of 4-patches and a square we sometimes call Broken Dishes.
I made all the blocks for this quilt from my 3.5 in. scrap strips, with white 3.5 in. strips added for the triangles.
Here's the recipe:
Cut 3.5 in squares from scraps in matching pairs.  You will need 100 pairs, to make 50 blocks.  The blocks measure 6 in. finished (6.5 in. unfinished).
For each broken dishes block, use your favorite method to make 4 squares consisting of two triangles each, one scrap and one white.  I used the Easy Angle ruler, so I could cut the triangles from the 3.5 in. strips I already had.  Make 49 blocks.
Arrange the finished blocks in 11 rows of 9 blocks each, alternating the 4 patches and broken dishes blocks.  As you can see in the photo, I started with a 4 patch in the odd numbered rows and a broken dishes block in the even rows.
I added a 5 in. finished (5.5 in. cut) green border on each side.
The finished top measures approximately 64 in. x 76 in., making it roughly a twin sized quilt.
My quilt will be given to a homeless shelter in my area.  The people who receive these quilts get to keep them.  I'll be handing the top off to be quilted by the wonderful ladies in our group who have long arm machines.  When it's done, I'll bind it, and it will be off to warm someone.
I did finish a couple of things this week.  It's still Babymania around here.
I made a little striped sweater, toddler sized, for the new baby.  Fun to knit, but weaving in all those ends took almost a whole evening.  Next I think I need to knit a baby blanket.  (That will take a lot longer.)
I also used some of my ridiculously large stash of cute flannel to make some burp cloths.
This is a commercially-made burp cloth from Carters, that someone gave my daughter.  It's a little the worse for wear, which is normal for a burp cloth.  The center is one of those pre-folded cloth diapers.  I used it for an idea of size.
To make these, I cut a piece of flannel 10.5 in. x 17 in.  I also cut a piece of terry cloth the same size.
Here's the back.  Nothing could be simpler than these things.  I just put them right sides together, and sewed them around the edge, leaving an opening for turning.  Then I turned it right sides out, pressed it, pinned the opening shut, and top stitched around the whole thing.  I used a decorative stitch on my electric machine.
These were so fast and easy it was hard to stop making them!  Here's one with Winnie the Pooh flannel.
Check out this cute fabric!  It was a remnant at the fabric store.
And of course, cars and trucks.

In spite of recent weather, it really is springtime, even here.  The plants and trees will survive the snow, and bloom.  We'll walk outside without our winter coats, and the farmers markets will open again.
In the meantime, it's a good day to sew.
Enjoy the sunshine!


Tuesday, March 31, 2015

Half Log Cabin Quilt Block Tutorial

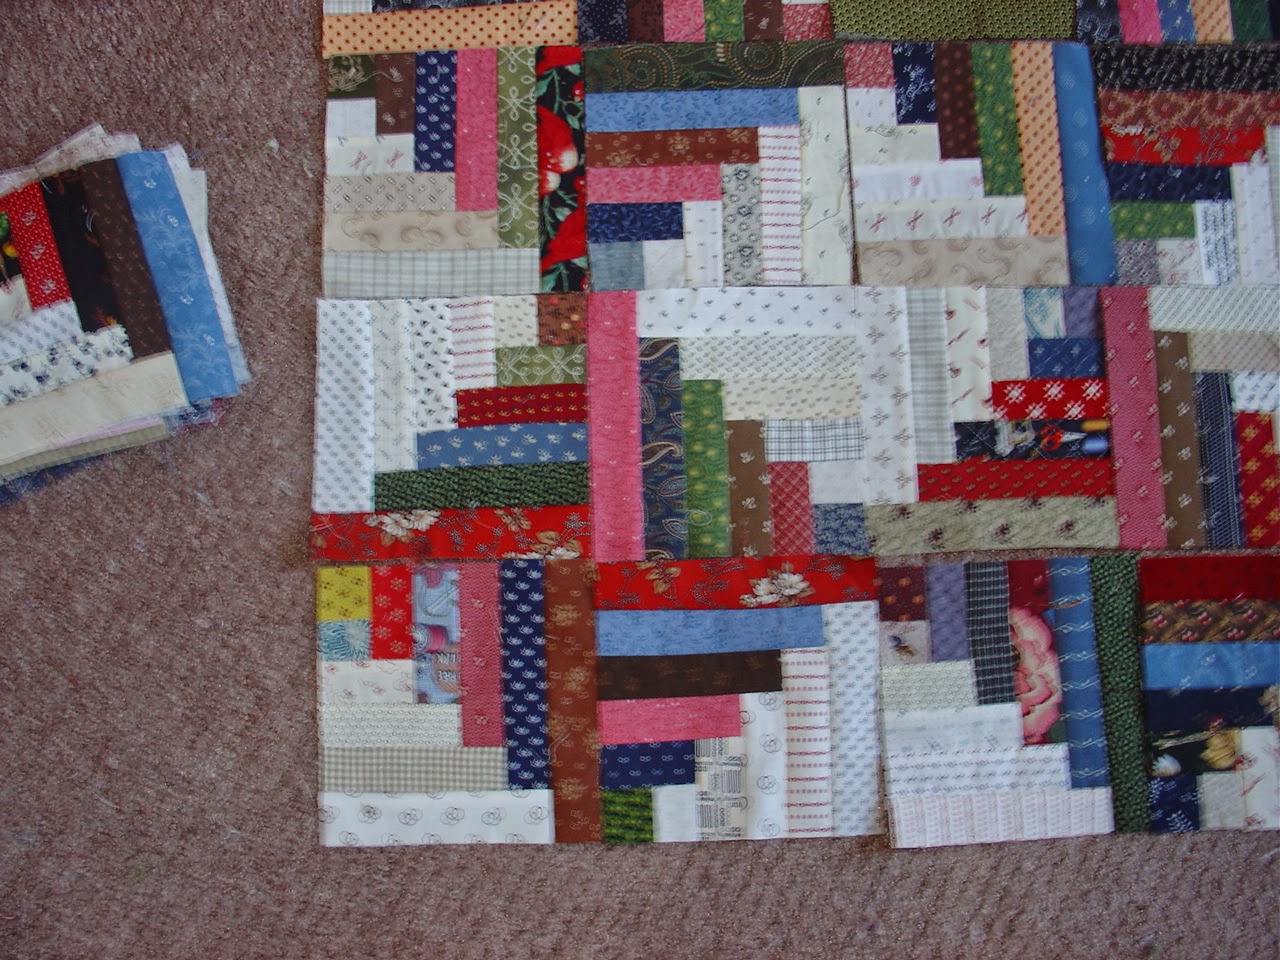
So much strippy fun this week!  I'm making half log cabin quilt blocks, from 1.5 in. strips.  I started these as leaders and enders, but they have a way of breaking out and becoming the main project.
In the last blog post, I showed a picture of the overflowing drawer these strips usually live in.  Since then, I have divided them into dark and light strips, and put them in baskets.  The strips on the desk are shorter ones, to use first.
Think I'll have enough strips?  When I took this picture, I had already made 75 blocks.
This is what the blocks look like.  There are 5 light strips and 6 dark strips.  The blocks measure 6.5 in. if you sew them perfectly.  Mine are not all perfect, so I'm trimming them all to 6.25 in. to match the smallest ones.
Here's the layout I decided on--Sunshine and Shadows.  There is not much seam matching in this layout, and I've always wanted to make one like this.
This is a closeup.  I will probably move these around a lot before I finally settle on which block goes where.  Just looking at this photo makes me want to switch some of them.   Right now I see a lot of pink in the blocks, which kind of surprised me.
I consulted a couple of books before deciding how to sew these.  My method is a lot like how I sew string blocks, and is a fun way to work if you like scraps.
Okay, here we go.
Half Log Cabin Block Tutorial
Step 1:  Sew two 1.5 in squares together.  One square is light, and the other is dark.  Easy peasy.
You can sew strip sets if you want to have several blocks with the same centers.  I didn't, so I cut squares.  Press toward the darker square.  Press after each addition.

Step 2:  Add a dark strip to the side of this unit.  Put the pieced unit face down on the dark strip, with the light square at the top, and sew.  Press toward the new strip.

Trim the strip even with the pieced unit.  I use (gasp) scissors and eyeball it.  You could use a rotary cutter if you like.  You will be doing this with each strip added from now on.

Step 3.  Now add a light strip to the pieced section.  Lay it out like this, put the pieced section down on top of the strip, and stitch.  Press and trim.

You will be repeating these steps over and over.  Be careful, and keep the seam ripper handy--it is very easy to get mixed up.
Step 4:  Add another dark strip.
Here's how the block should look each time you add a dark strip.  Notice where the first dark square is. (It's the one with the dots.)

Step 5:  Adding a light strip.  Notice where the beginning square is here?  The blocks should always be in this position when adding a light strip.


Naturally, I'm chain sewing the blocks, but I like to have ten or so of them going at a time, at different stages.  I don't want any of my blocks to be exactly the same, so I don't add them to the same strips of light and dark.   I take the blocks to the iron after each round, and I add in new ones to replace ones I've finished.


When I trim a strip, if there is only enough left for a 1.5 in. square, I put those pieces in this little basket on the treadle cabinet.  Then I can pull pieces from here to cut for the center squares.  (If the trimmed piece is smaller than a 1.5 in. square, I actually throw it away!)

Here's our block, all finished.  I have pressed it, and trimmed it to size.
And here's the back, with the seams all pressed toward each new strip as added.
You could just keep going, if you wanted larger blocks.  I kind of like these little ones.  I think I'll need at least 120 of them for a twin sized quilt.

In other news, UFO#4 is pin basted and ready to quilt.  If I could just stop sewing these half log cabin blocks...

Spring is trying to break through today, and the dog and I need a walk.
Have a wonderful week!


Monday, January 26, 2015

Leftovers

I don't like to waste things.  Maybe that's why I like scrap quilts.  Even though I'm adding at least some new fabric, I am using up the pieces left over from other quilts.
The blocks in this quilt are made from leftovers from part 3 of the Grand Illusion Mystery Quilt by Bonnie Hunter. 
We were supposed to make 120 units that look like this--one blue, 4 greens, 3 neutrals. 
I kind of got stuck on this part.  The piecing was easy, but I was making each part on a different people-powered machine, and for this one I chose my oldest treadle, a Singer model 12.
This is a picture I took while making these blocks.  Bonnie's directions had us sew sets of 4 strips together and cut them into sections.  It worked better for me to make 2-strip sets and cut pairs to sew together.
This machine was made in 1876, and is nicknamed Lorena.  She needed a little more oil, and sewed just fine, but she was a little balky about winding bobbins.  You use your left thumb or forefinger to apply tension when winding the bobbin, and your right hand to press the bobbin winder (that stickety-out thing on the right of the picture) against the hand wheel.  If the machine isn't running very smoothly, the wheel won't turn freely.

So I was working on this when the clue for part 4 came out, and I left this part and went on to the next.  When we got the big reveal, I decided I wouldn't use these sections in the mystery quilt, but instead replaced them with plain sashing.
So what to do with the leftovers?  I had 60 sets made.  So I turned them into 30 blocks, like this:
The squares in this block measure 1.5 in. finished, and the block itself finishes at 6 in. square. 
 According to Barbara Brackman's Encyclopedia of Pieced Quilt Patterns, this is a variation of block 1102a, which is called Mosaic #20. 
By the way, this particular block is a leftover of the leftovers.  The flag square has a tuck in it--oops!  This may be destined to become a pot holder.
Lorena, the model 12 treadle, lives in my basement.  About the time I was working on these blocks, we got a real cold snap, with lots of below zero temperatures.  It was just too cold to work in the basement, so I brought my model 12 hand crank upstairs and finished the blocks on it.  This is a real Frankenstein of a hand crank, with the parts of at least 3 machines.  (I call her Frankencrankin.)

I made 20 more blocks, for a total of 50.


Here's how I set the blocks together.
It's a little wrinkled from being folded.  I positioned the blocks with the blue corners touching.
I love this setting fabric!  It comes from my favorite quilt shop in the world, J. J. Stitches in Sun Prairie, Wisconsin, and was designed by the shop owner, Julie Hendricksen.
Now I have to figure out the border, and then get going on the quilting.  The quilt is a small twin size, so it should be too hard to quilt on my home machine.

One of the reasons I simply had to have my model 12 treadle was the folding top.  Want to see?
Here's what she looks like, all closed up and locked (the key is in the lock here).
When you unlock the top, the front folds back and the sides fold down. 
The sides are ready to fold back, and the front is leaning against the wall here.  It eventually folds completely down behind the machine.  It locks against the other section so it stays in place.

And here's how it usually looks, with the top folded flat to become a sewing surface.  Isn't this cool?

Sad to say, I don't use Lorena to sew very often.  I can't buy new needles for her, although I have a small supply of new old stock.  It's amazing how well she sews after nearly 140 years.

Good news for me--leftover lasagna and French bread for lunch!
What's under your needle this week?


Monday, January 12, 2015

The Captain's Butterfly


A long time ago, I belonged to a wonderful online group called Treadle On.  The moderator for that group is Captain Dick, a generous, helpful man with a quirky sense of humor.  He helped all of us fix up our old machines, and was a great inspiration with his quilting.
In 2002, the Captain started a block of the month.  He showed everyone how to make quilt blocks that would be interesting and fun to make, but not too difficult for those just starting to quilt.  One of the blocks was a pieced butterfly.

This is a block I made from the Captain's instructions.  I loved making the pieced butterflies.  They became a tied comforter for my youngest daughter in a time when we both needed some comfort.

In recent years, I've drifted away from Treadle On, but I still have the bumper sticker on my car (Treadle On:  Saving Our Sewing Heritage) and lots of warm memories of people I met because of Treadle On, both online and in person.

I thought of this block recently when I was making a few Christmas presents.  I try not to make very many things for Christmas, because I tend to get carried away and then stressed out when things don't get finished on time. I always think I'll work on presents all year long, but so far it hasn't happened.  Maybe this year?
I scaled down the Captain's pattern from 12 in. to 8 in. square, and made these pot holders for my Mom.  It helped that I had lots of bright colored scraps, especially some batiks I bought in a scrap bag at a quilt show.
Then I made this little quilt for the gift exchange at our quilt group's Christmas dinner.  We call it a brown bag exchange, because we each put a fat quarter in a brown bag, mix them up, and all choose one.  Then we make something with the fat quarter for the original person, and give it to her at the dinner.  It's hard to see here, but the fat quarter I had was a shiny black cotton with silver dots.  I used it for the butterfly bodies and the cornerstones.
The 8 in. size worked well for this little quilt, too.  I left off the antennae on this one.
I quilted it on my electric Pfaff, bound it, and wrapped it.  Unfortunately, I didn't end up going to the dinner.  My cousin's wife died, and I went out of town to the funeral.  I mailed the quilt to its new owner, and I think she likes it.
I think this would be a nice pattern to use for a charity quilt, especially made up in bright colors.

Since the Captain so freely shared this pattern years ago, I don't think he would mind if I shared my 8 in. size pattern with you.
To make one block:
1.  Make 2 half square triangles that measure 4 in. square when finished.  Use your favorite method.  I used the Easy Angle ruler, and cut two purple and two white triangles from 4.5 in. strips, then sewed them together in pairs.
2.  Make 2 half square triangles that measure 2 in. square when finished.  Use your favorite method.  I used the Easy Angle ruler, and cut two green and two white triangles from 2.5 in. strips, then sewed them together in pairs.
3.  Cut 3 black squares 1.5 in. x 1.5 in.
4.  Cut 2 green squares, 1.5 in. x 1.5 in.
5.  From background fabric (in this case, white), cut 1 2.5 in. square, 1 rectangle 3.5 in. x 4.5 in., and 1 rectangle 1.5 in. x 3.5 in
To assemble:
Lower right section:
Make a 4 patch from 2 black and 2 green 1.5 in. squares.  Sew a half square triangle to the 4 patch as shown above.  Sew the white 2.5 in. square to the second half square triangle, as shown above.  Then sew the two rows together to make a square.
Upper left section:
Sew the black square to the 1.5 in. x 3.5 in. white rectangle.  Then sew the white 3.5 in. x 4.5 in rectangle to that section.
Now just assemble the block like a 4 patch, following the picture.
You can add antennae if you like, either by hand or machine.  On the potholders, I used a chain stitch machine to make the antennae.  I drew the lines I wanted on the wrong side of the block, and stitched them from the back.
I quilted the little blocks, and then brought the backing fabric to the front for a binding.

Now I want to make some pieced flowers to go with them.
Spring is such a long way off in January in Wisconsin.
Stay warm, and keep quilting.